
This step-by-step guide covers exactly how to install plantation shutters, from first measurements to the final finish. It takes you through frame choice, mounting, and panel alignment so you can handle shutter installation at home with confidence.
Your complete plantation shutter installation guide step by step
Before you start drilling, use the DIY shutters configurator from Shutters365 to choose your materials, louvre size, and exact measurements. From there, download the fitting instructions that match your order.
How to measure and prepare before you install plantation shutters
Everything starts with accurate measuring. Measure the opening precisely before anything else, particularly if the shutter will sit inside the recess.
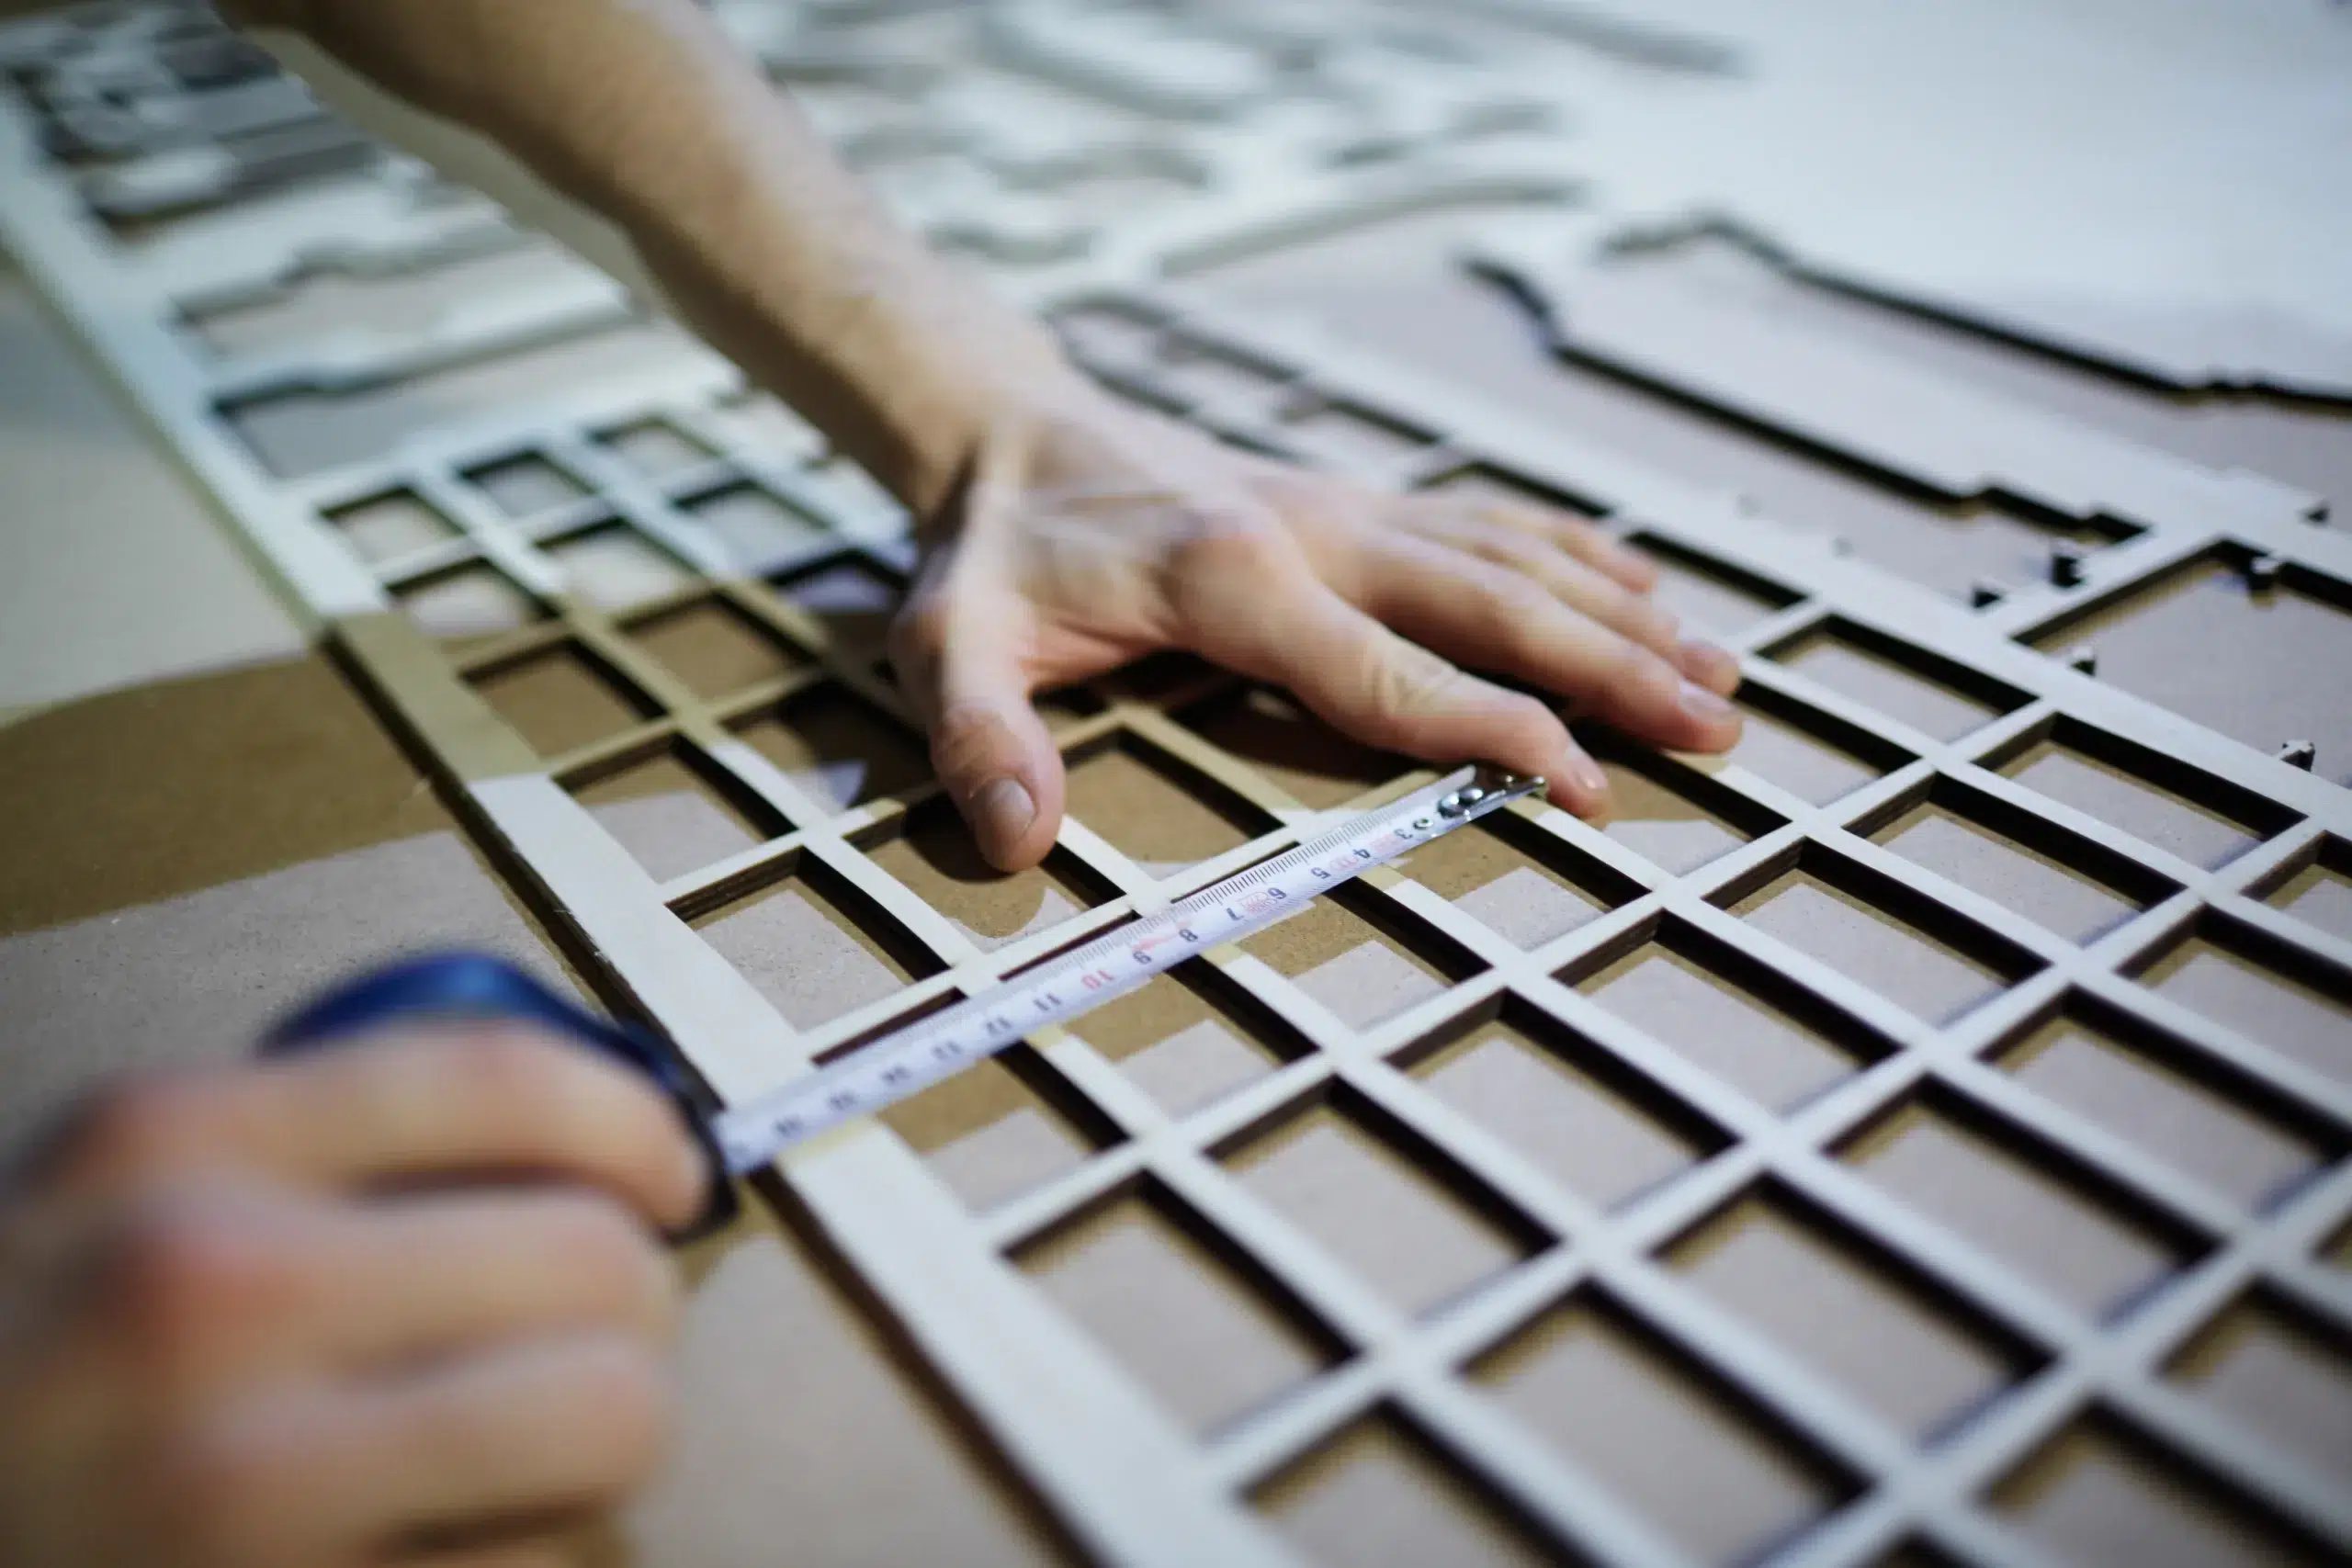
Take width measurements at the top, middle, and bottom, then measure the height on the left, centre, and right: use a rigid metal tape measure for each point. Record the largest figure in each set, as this becomes the size you order against.
Next, check whether the opening is square. Measure diagonally from corner to corner in both directions, and if those measurements differ by more than a few millimetres, your frame choice needs to allow for it.
Once you’ve measured, lay out every labelled package in the room where it will be fitted. Each Shutters365 delivery is marked for its intended window, so you can match parts before you assemble anything.
That preparation also applies to Perfect Fit systems. Worth knowing before you order: place a bank card at the bead corner to check that the gap to the glass is between 18 mm and 30 mm. Outside that range, switch to a different frame type.
From there, keep your shutter installation tools ready before starting: a cordless drill, spirit level, rubber mallet, packer wedges, pencil, Stanley knife, and decorator’s caulk.
Choosing the right shutter frame type for your window
With those measurements confirmed, the difference comes down to where the shutter will sit, how even the recess is, and whether you need the frame to cover imperfections.
The L-frame is the simplest option and suits most windows, whether fitted inside the recess or on the wall face. By contrast, a Z-frame includes an overlapping trim, which helps when the opening is not perfectly square.
The All-sides frame works well in a flush recess. The All-with-sill-cut version is shaped to sit neatly around a projecting sill: that is a common setup in UK homes.
How to assemble and fix the shutter frame to the wall
With the frame choice sorted, you can assemble the frame. For L-frame shutters, line up the mitred corners and tap the Hoffmann keys into the bowtie-shaped slots with a rubber mallet. Place a cloth over the corner first to protect the finish.
Z-frames are assembled differently. They use pre-drilled fixings that tighten with a Phillips screwdriver, while wider units over 1500 mm need the pre-made T-Bar fitted into the prepared holes before mounting.
Once assembled, place the shutter frame in position and use packer wedges to keep it centred and secure within the recess. Mark the fixing points through the pre-drilled holes, remove the frame, then drill pilot holes and add rawlplugs suited to the wall materials.
Before tightening fully, use a spirit level to check that the frame is plumb and level. In practice, even a slight lean will show once the shutter panels are hung, so take time here to get the mounting position right.
Fitting shutter panels, aligning louvres and finishing touches
Once the frame is secure, fit the shutter panels one by one by dropping the hinge pins into place. Close the panels after fitting, then adjust the frame slightly left or right until the top lines sit evenly.
Use a spirit level again to confirm everything is true before you fully fix the remaining mounting points. As a result, the panel gaps and top lines are easier to keep even.
- Hinge pin fitting: Lift each assembled panel into the frame and slide the hinge pin through each hinge bracket, working steadily from one side to the other.
- Louvre orientation: Check that the tilt rod sits in the mouse hole at the top of the slats. If the louvres close downward instead of upward, the shutter panel is upside down and needs repositioning.
- Fine adjustments: Use the supplied hinge packers to correct uneven gaps between shutter panels, then tighten the screws once alignment is confirmed.
- Finishing: Apply decorator’s caulk where the frame meets the plaster or recess edge for a clean result. Once fitted, the line helps the shutter look built into the opening.
Configure your shutter around the right height, panel layout, and frame choice through Shutters365 before delivery: install plantation shutters.
Frequently asked questions
Can you install plantation shutters yourself without professional help?
What matters most is having the right tools and accurate measurements: a cordless drill, a spirit level, and width and height figures taken at three points. Shutters365 includes a step-by-step guide with every order, covering measuring, mounting, and panel alignment.
From there, the job is easier with two people. That is especially true when installing inside mount shutters or working on an outside fit, where holding the shutter frame in position while marking the fixing points can be awkward on your own.
What is the difference between inside mount shutters and outside mount?
As covered above, holding the frame steady links directly to mount type: inside or outside fitting changes how you position and fix the shutter from the start. Inside mount shutters sit inside the window frame recess, which keeps the sill free and gives a more built-in look.
From there, clearance is the key variable: panels on an inside fit usually fold back only as far as the reveal, around 90 degrees, while an outside mount can open fully against the wall. By contrast, outside mounting is often the right choice when the recess is not perfectly square, because the frame fixes around the opening rather than inside it.
Once you have chosen the style, for an inside fit, take your measurements within the recess; for an outside fit, measure the full area you want the shutter to cover.
What are the louvre and material options when installing plantation shutters?
Once you’ve measured, the next choice is louvre size and materials. Standard options are 64 mm, 76 mm, 89 mm, and 114 mm.
From there, size affects how the shutter reads across the window. As a guide: 89 mm and 114 mm suit larger windows and contemporary interiors, while 64 mm and 76 mm fit smaller frames and period rooms where finer detail reads better.
That same principle applies to material selection. Wood shutters in Paulownia hardwood are lighter, which helps on larger window frame spans, while Basswood has a denser feel and a smoother surface for a more premium finish.
By contrast, faux wood, made from PVC, is fully waterproof. In practice, that makes it well suited to kitchens and bathrooms where moisture matters.
From there, Shutters365 lets you configure the details online before you order: louvre size, tilt rod style, materials, and the measurements needed to install plantation shutters with confidence.