
This article covers every interior shutter installation tool needed to fit shutters yourself, whether you’re using a no-drill clip-in system or mounting a traditional frame into brick or plaster. For step-by-step context, see the full shutter installation tools guide.
Tools needed to install shutters yourself
Fitting interior shutters starts with the right kit. The tools you need depend on the window recess, the wall surface, and the type of shutter frame supplied. This shutter fitting guide breaks the job into measuring, mounting and finishing, so you can stage each step before the frame goes in.
Measuring tools to get dimensions right
Those variables, recess depth, wall surface, frame type, shape the measuring stage first. For interior window shutters, accurate measurements are fixed at order stage, because the frame is made to fit the opening you record.
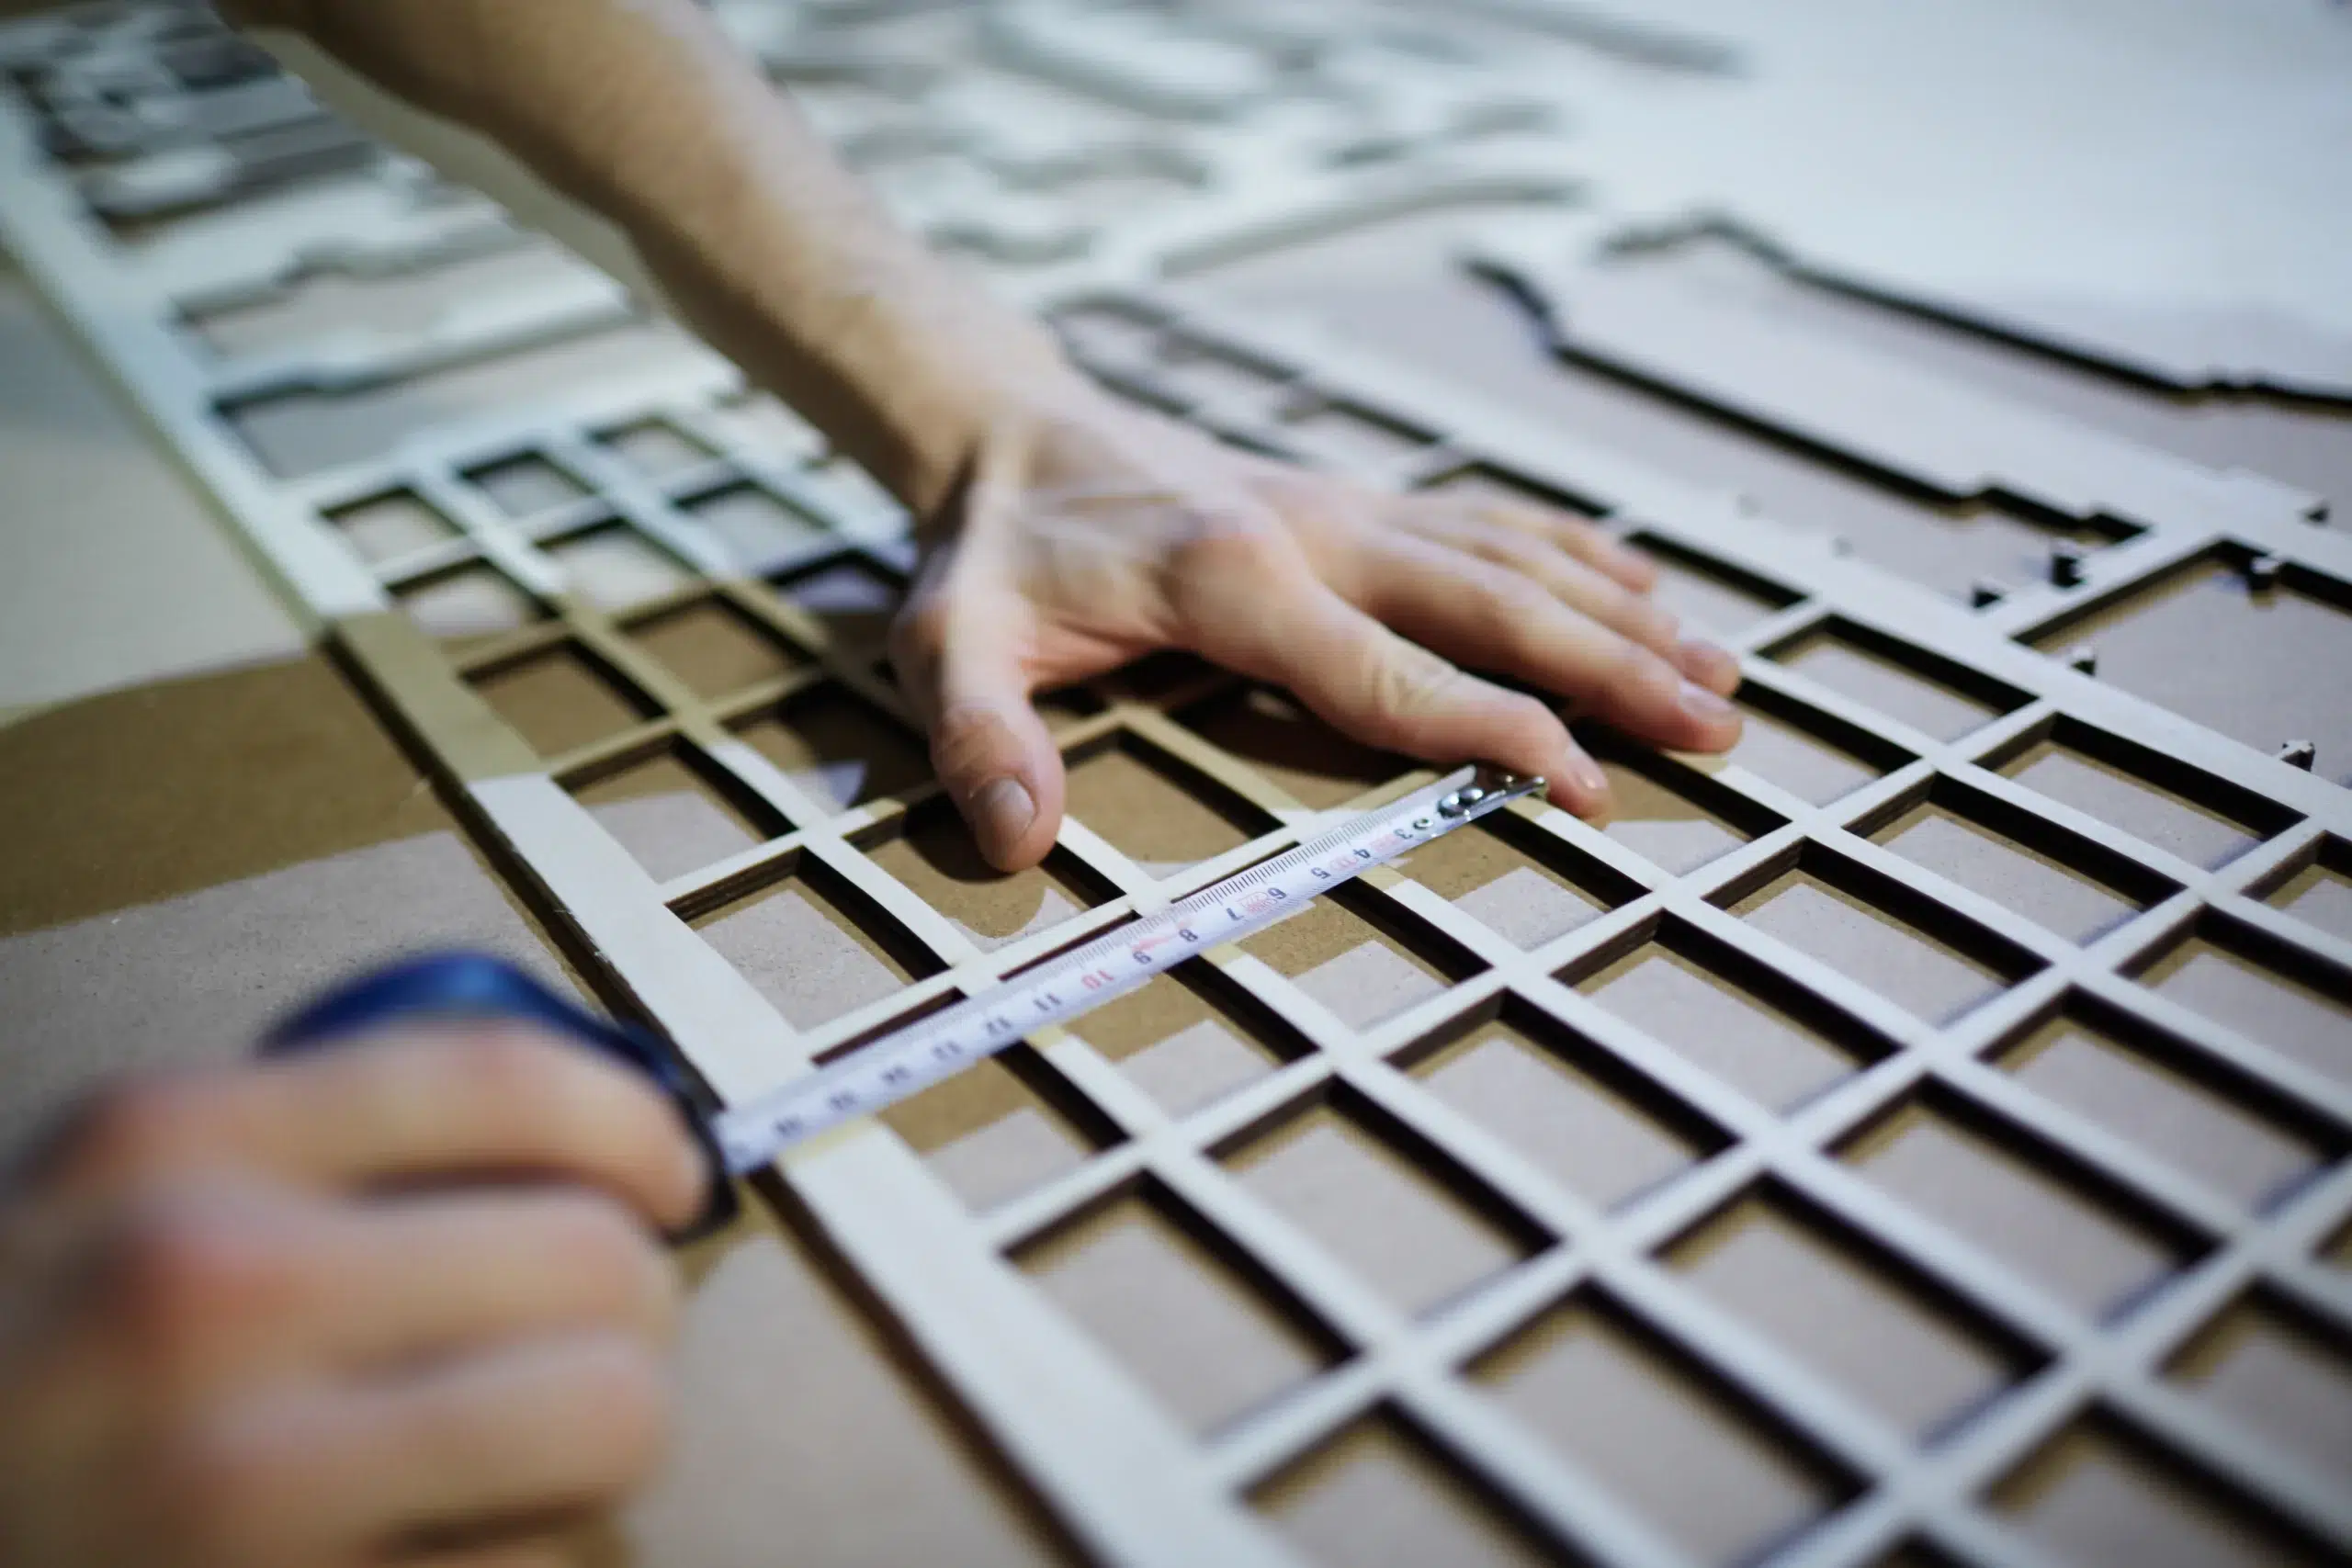
Use a metal tape measure rather than fabric: it stays straight and gives cleaner readings. Take width and drop at three points, top, middle and bottom, then measure the diagonals corner to corner to check whether the opening is square. A pencil helps you log measurements and mark fixing positions for shutter installation, while a measuring tape is also useful during fitting to confirm the gaps stay even around the shutter frame.
Power tools required to install shutters securely
From there, drilling depends on the surface you are fixing into. The window shutter installation tools needed for brick are not quite the same as those for timber, plaster or plasterboard, even though the installation steps are similar.
A cordless drill with variable speed will handle most jobs: use masonry bits for brick or concrete, and standard bits for timber or plaster. If you are installing into masonry, each pilot hole will usually need a rawlplug before the screw goes in, so the hardware has something solid to bite into.
- Cordless drill creates pilot holes and drives each screw into the wall or window recess during installation
- Masonry drill bit cuts into brick or concrete; swap to a standard bit for timber or plaster surfaces
- Rawlplugs go into pre-drilled holes in masonry or plaster to give the fixing proper support
- Hammer drill may be needed when installing shutters into dense brickwork where extra impact helps penetration
By contrast, many modern UK homes only need a standard drill. A hammer drill or hammer setting becomes relevant mainly with solid brick, and that is worth knowing before you order because the shutter installation tools needed and fixings can change with the wall material.
Hand tools for frame assembly and alignment
Once the pilot holes are ready, attention shifts to the frame. The hand tools for installing shutters vary slightly with the system Shutters365 has supplied, and the difference comes down to how the corners are joined.
L Frames use Hoffmann keys tapped into shaped corner slots, while Z Frames use pre-drilled fixings secured with a screwdriver. A rubber mallet works best for the L Frame, and placing a cloth over the corner helps protect the painted finish while you tap the joint together.
Alignment matters next. A spirit level checks that the shutter frame is plumb and level before you tighten everything fully, because even a slight lean will show once the shutter panels are hung. Packer wedges or shims hold the frame centrally in the window recess while the first fixing is left part-tight for adjustment.
| Hand tool | Purpose | Frame system |
| Rubber mallet | Tap Hoffmann keys into L Frame corners | L Frame only |
| Screwdriver (Phillips) | Secure frame components and hinge fittings | Z Frame & L Frame |
| Spirit level | Confirm frame is plumb and level before final fix | Both |
| Packer wedges / shims | Centre frame in recess; maintain even gaps | Both |
| Measuring tape | Verify gap consistency around frame during fitting | Both |
Finishing materials for a professional result
With the frame fixed and level, the last stage is finishing. After the shutter panels are hung using the supplied hinge pins, decorator’s caulk closes the line between the shutter frame and the surrounding plaster or recess edge so the fitting looks neat rather than patched in.
Shutters365 includes cover strips and drill cover caps in the hardware pack to hide fixing points. A typical single window can take around one to two hours from first measure to final caulk line, which makes DIY shutters realistic for a standard room if you are confident handling the shutter installation tools needed.
Frequently asked questions
Do I need special tools to install interior shutters?
That depends on the system and the window frame. For traditional brick or plaster-mounted interior shutters, the usual kit is straightforward: a cordless drill, spirit level, rubber mallet, and metal tape measure, along with rawlplugs, packer wedges, and the correct screw fixings.
By contrast, Perfect Fit interior window shutters for compatible uPVC windows need no tools at all. The panels clip directly onto the existing frame, with no drilling or sealing, so the difference comes down to your window type and the way the shutter frame is designed to sit.
How do I measure accurately before ordering interior window shutters?
Once the fitting method is clear, the next step is to measure the visible glass area rather than the full opening. Take measurements at three points for both width and height: top, middle, and bottom, using a rigid metal tape measure, then record the widest width and tallest height.
From there, check both diagonals corner to corner. If those measurements differ by more than a few millimetres, the window is out of square, which affects how the shutter frame will sit once fitted.
For Perfect Fit systems, there is one more check worth knowing before you order: place a bank card at the bead corner to confirm the gap to the glass measures between 18 mm and 30 mm. That confirms compatibility with a Perfect Fit system.
Can I fit shutters myself without professional help?
With accurate measurements in place, most standard rectangular windows are suitable for DIY shutter installation in a day. Shutters365 provides a full installation guide, pre-labelled frame components, and the hardware needed for installation: hinge pins, cover strips, and the correct fixings for the frame type.
In practice, that makes it realistic to fit shutters at home without specialist knowledge, provided you work carefully, keep the frame level with a spirit level, and secure each screw properly.
By contrast, arched openings, bay windows, and sash windows without the correct bead profile usually need a professional survey before you install shutters. The same principle applies where the shutter frame cannot sit squarely within the opening.