
This guide covers exactly how to install shutters on brick: the right tools, fixings, and sequence from first measurement to finished frame, whether you’re fitting wood or vinyl shutters to a solid brick wall.
Tools and fixings needed to install window shutters on brick
On a brick wall, the tools and fixings used for shutter installation are different from those used on timber or plasterboard. As a result, it helps to check your brick shutter tools list before you order anything.
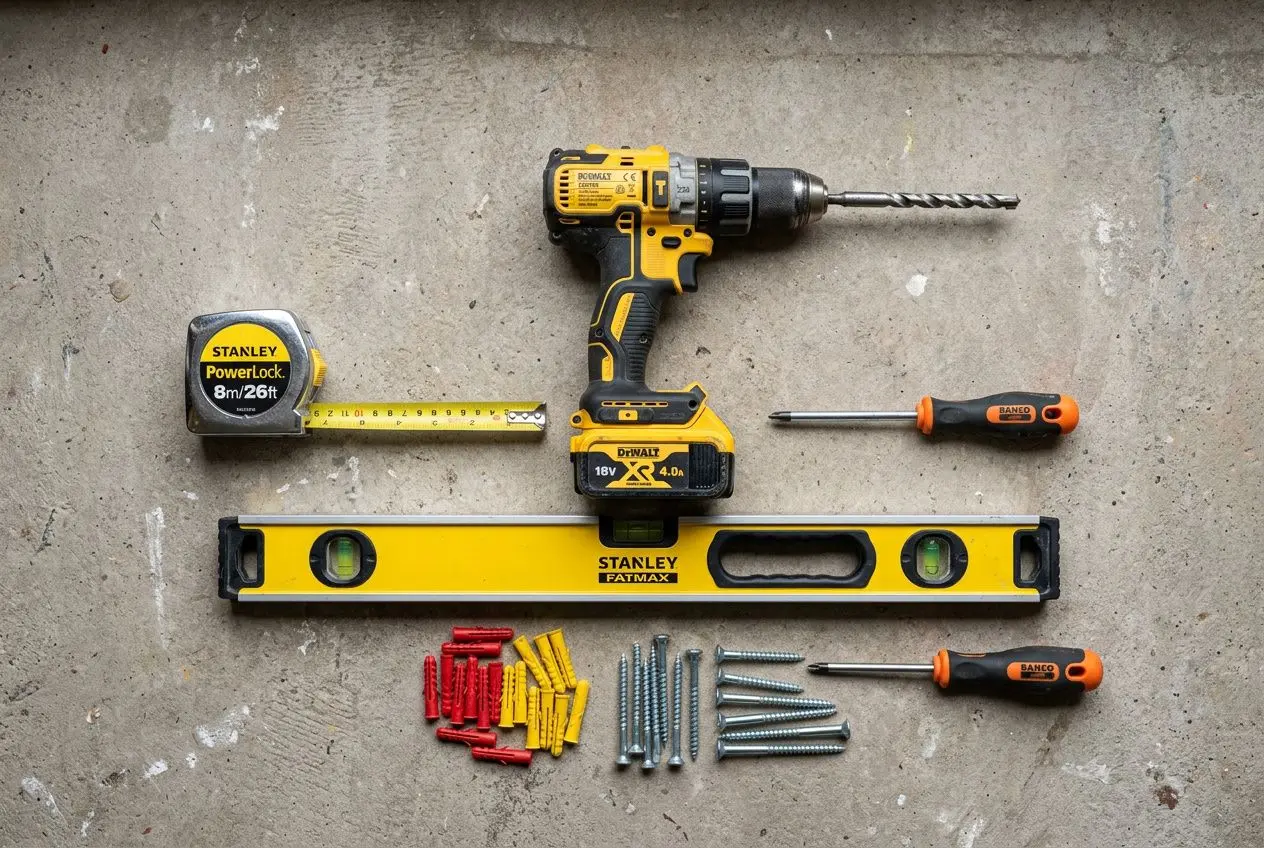
Essential tools for drilling into brick masonry
That tools list matters most once you start drilling. To install exterior shutters or tackle installing shutters on brick properly, you need a drill suited to masonry: a cordless drill with variable speed will handle many jobs, while dense sections may need a hammer setting or a dedicated hammer drill.
- Masonry drill bit, made for brick and mortar; keep at least one sharp bit ready, and ideally a spare, because hard surfaces wear them down quickly.
- Spirit level, used to check alignment and keep the shutter frame plumb during mounting.
- Metal tape measure, more reliable for checking opening size; fabric tapes can stretch and affect accuracy.
From there, keep a Phillips screwdriver nearby for hinge fittings and frame screws. Have a second drill loaded with a standard bit for pre-drilling shutter panels, so you are not switching bits mid-job.
Choosing the right fixings and wall plugs for brick
Once the tools are sorted, the difference comes down to the fixings. If you want to know how to install window shutters on brick securely, the key is matching each anchor and screw to the wall plug and hole size so the mounting stays firm over time.
From there, the plug sits in the hole, and the screw goes into the plug rather than straight into the brick wall. That gives the shutter hardware a more reliable hold.
With that fixing method in mind, aim for mortar joints instead of the brick face where the layout allows. Mortar is easier to drill and simpler to make good later, while holes in brick are permanent; if you do need to drill the brick itself, keep each fixing at least one inch from the edge to reduce the risk of cracking.
Measuring and marking shutter positions on brick
With the fixing method clear, accurate measuring comes next. Measure the opening at the top, middle, and bottom for width, then at the left, centre, and right for height; after that, check the diagonals corner to corner to see whether the opening is square.
Once you’ve measured, use the largest width and height on your brick shutter installation order form.
From there, hold the shutter in place and mark the mounting points with pencil. In practice, those marks should line up with mortar where possible, and if the dimensions vary by more than a couple of millimetres, recheck everything before drilling begins.
Step-by-step guide to fitting shutters on brick
Shutter installation on a brick wall works best in a set order: prepare the shutter, mark the fixing points, drill into brick or mortar, fit each anchor, then secure the panel and finish the edges. Sequence matters: once a mark or fixing is in the wrong place on brick, correcting it is awkward.
Preparing the shutter and marking drill points
That sequence starts with the shutter itself. The first step in how to install exterior shutters on brick is to make all pilot holes in the panel before any drilling into the wall, using a regular drill and a standard bit, then adding a countersink so each screw sits flush.
- Remove old shutters first, as stripped screw heads may need pliers to come out one by one; the surface needs to be clear before installing shutters.
- Mark fixing points on the shutter, with pencil on the face of the panel, aiming to line up with mortar joints behind where the size and position allow.
- Transfer marks to brick, by dipping a cotton bud in black acrylic paint, passing it through each pre-drilled hole, and pressing the shutter firmly against the brick wall.
- Check fastener count by window size, using four fixings for shorter windows, one in each corner, and six for taller windows with extra points at mid-height on each side.
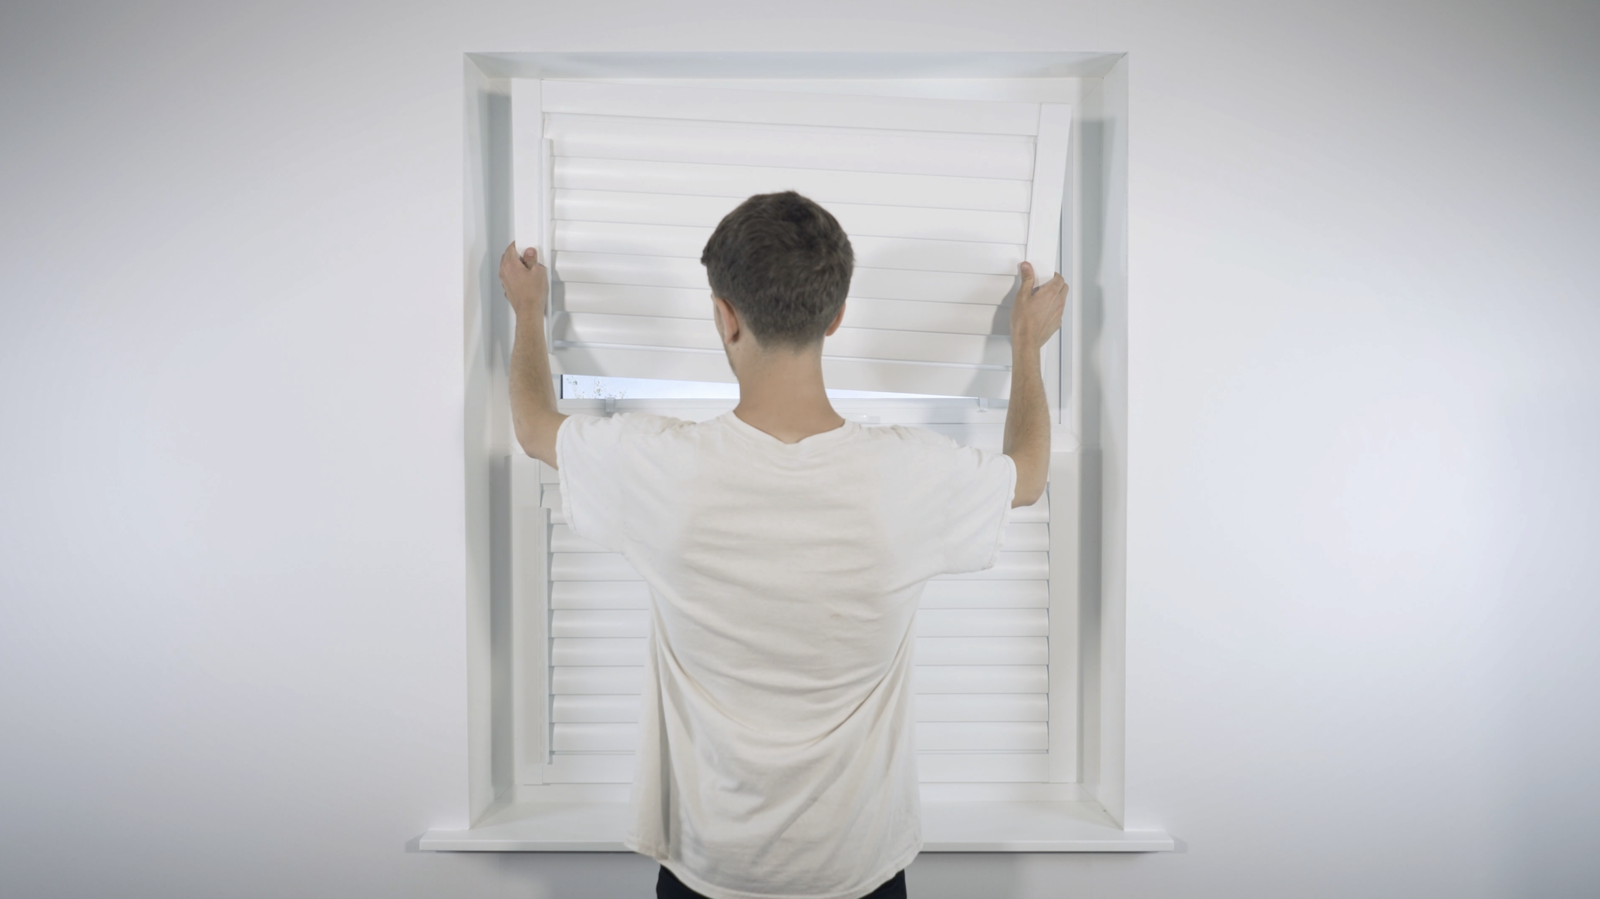
Holding the shutter level against the wall usually takes two people, with one person holding the shutter while the other checks level and transfers the marks, especially where hardware has tight fitting tolerances.
Drilling into brick and securing the shutter frame
With the marks in place, the next step in how to install window shutters on brick is drilling. Use a drill on the hammer setting with a masonry drill bit, or a masonry drill matched to the anchor size, and keep each hole straight so the fixing grips properly.
From there, drill slightly deeper than the screw length so the anchor can seat fully. Whether you drill into brick or mortar depends on the fixing line you established earlier, but the same principle applies: clean, straight holes made with the correct masonry drill bit hold better than forcing a loose fit with a larger bit.
After drilling, insert the fixings fully and start each screw through the shutter so around half an inch projects from the back. Position the panel on the brick wall, then secure the top two points first, leaving them slightly loose while you check the gaps and use wedges or shims to keep the frame centred before it is fixed in place.
| Window size | Number of fixings | Fixing positions |
| Shorter window (up to 900mm) | 4 | One in each corner |
| Taller window (over 900mm) | 6 | Corners plus mid-height on each side |
Finishing and concealing fixings for a clean result
Once the frame is secure, the finish is what makes installed exterior shutters look neat rather than improvised. Apply decorator’s caulk where the shutter frame meets the brick edge to close fine gaps without hiding the profile, then fit the cover strips and snap the drill cover caps over the visible fixing points.
From there, screw heads can be colour-matched with a small paint sample applied using a cotton bud, especially if bright concrete fixings stand out against the shutter.
That leaves the moving parts to check. Test each hinge after final tightening to make sure it moves freely and that no fixing has pulled the frame out of square during shutter installation. On larger openings, a frame even slightly out of square will be immediately visible once the louvres are in position.
Installing shutters on brick without a drill or holes
Not every brick house gives you the option of drilling into the wall. Listed buildings, rented homes, and properties with tighter restrictions often need a fixing method that leaves the brick wall unmarked.
That narrows things down to two routes: a perfect fit system for uPVC-framed windows, or spike-fixed vinyl shutters designed for hard surfaces. The difference comes down to the window frame, the shutter material, and whether the panel is decorative or functional.

No-drill shutter options for brick surfaces
If you are looking at how to install shutters on brick without drilling, the most reliable option is a perfect fit system that clips into the uPVC frame with discreet polycarbonate brackets, so there is no screw, no anchor, and no contact with the surrounding brick.
This suits situations where tenancy terms or conservation rules rule out permanent mounting.
Material choices and their impact on shutter fixing
Wood shutters, vinyl shutters, and composite panels do not fix in the same way, and that affects everything from hinge placement to long-term mounting of shutters on brick.
- Wood shutters: if you need to install wood shutters in a traditional way, they are face-fixed with a screw passing through the panel and into an anchor set in brick or mortar. All sides should be painted or sealed before fitting, and spacers keep the shutter slightly clear of the brick wall for airflow.
- Vinyl shutters: these use spike-style fixings with flaps that collapse during entry and grip when pulled back, which suits hard masonry surfaces. They are stationary once fitted and are not designed to be hinged, which is worth knowing before you order.
- Composite shutters: these are supplied with clear polycarbonate brackets so you do not need to put holes through the shutter face itself. When fixing to a brick wall, the supplied screw should be swapped for a masonry-specific version.
From there, the strongest option for a working hinge is usually timber. Wood shutters balance structural strength with lower weight; heavier composite panels can also take a hinge but often need a third, centre hinge for stability.
Ordering the right shutter for your brick window
That fixing method should guide the order. If you are researching how to install vinyl shutters without holes or how to install shutters on brick without drill marks, check for a uPVC frame first, because the perfect fit system is the only genuinely hole-free answer for this type of property.
By contrast, a conventional installation involves drilling, masonry fixings, and accurate preparation. Use the Shutters365 DIY shutters configurator to choose the material, style, and exact dimensions, then measure carefully at the ordering stage: made-to-measure products take about 12 weeks from confirmation.
Frequently asked questions
How do you attach shutters to a brick wall?
For shutter installation on a brick wall, start by holding the shutter in place and marking each fixing point through the pre-drilled holes. Then use a hammer drill with a masonry bit to drill pilot holes, aiming for the mortar joints where possible rather than the face of the brick.
Once the pilot holes are ready, insert the rawlplugs and feed each screw partly through the shutter before offering it back up to the wall. Fix the top two points first, check the frame sits evenly, then complete the lower fixings and tighten everything fully.
From there, the finish is straightforward: caulk around the edges and fit the cover caps.
Can you install shutters on a brick house without drilling?
That depends on the window frame. If you have a uPVC window, installing shutters can often be done with discreet brackets that clip into the frame, so there is no need to drill into the brick or make permanent marks.
By contrast, on openings without uPVC frames, some drilling is usually still needed for a secure result. Vinyl shutters with spike fixings can reduce the amount of work, but they still tend to rely on some penetration into the mortar.
How long does shutter installation on brick take?
Once you’ve measured, a single window usually takes one to two hours to complete, from setting out to the final finish, provided the surface is sound and the fixings are ready.
As a result, more complex openings can take longer: bay windows, uneven reveals, or decorative architectural details may call for a professional surveyor. Pre-drilling each shutter before touching the wall keeps fixings aligned and makes the sequence easier to manage alone.