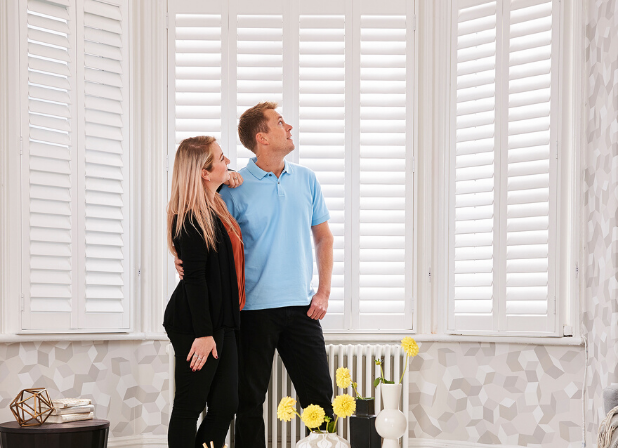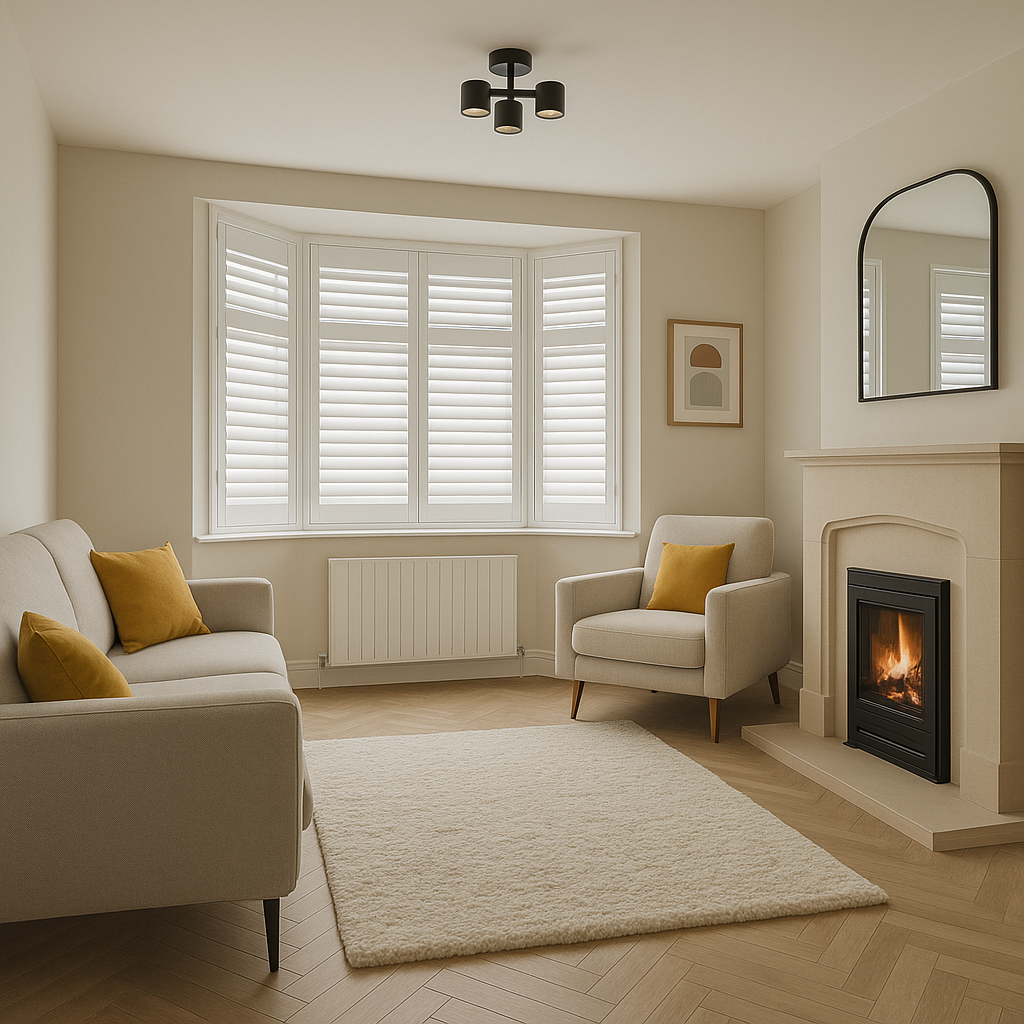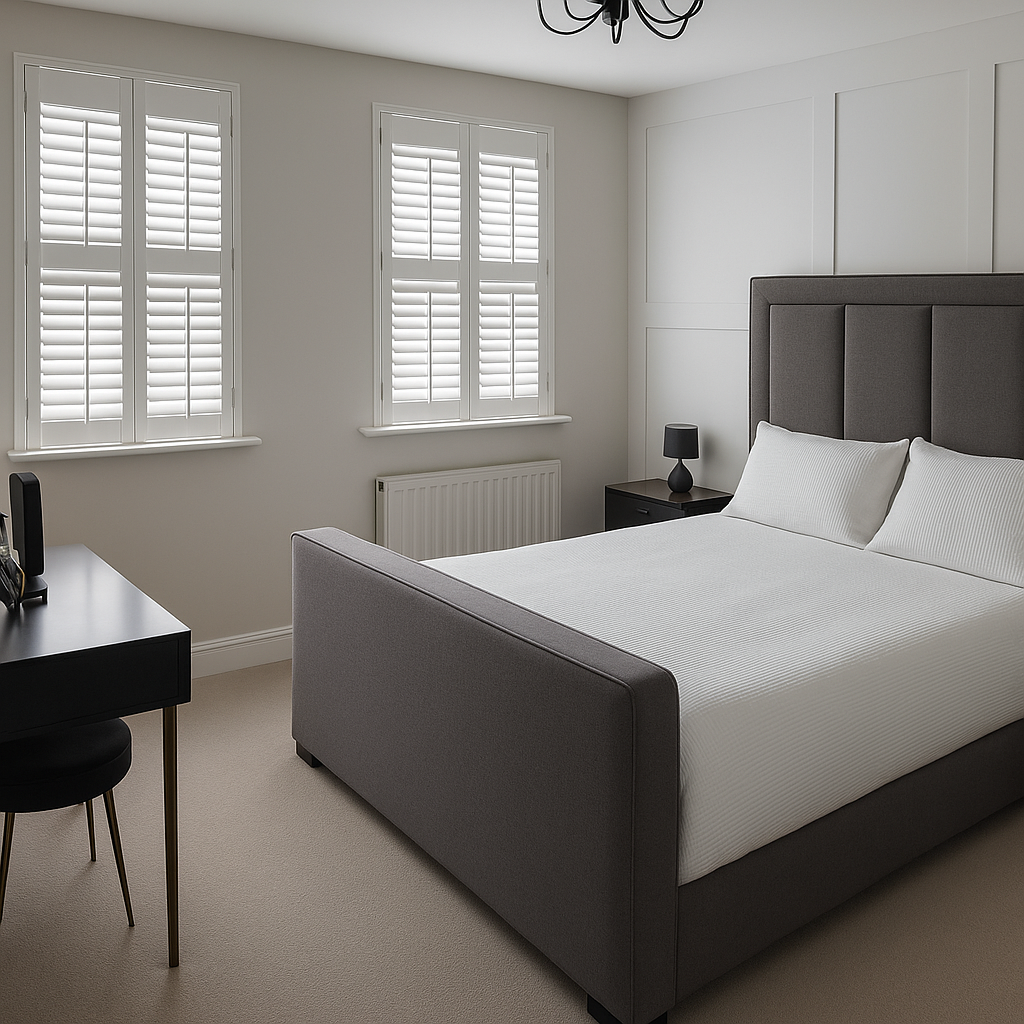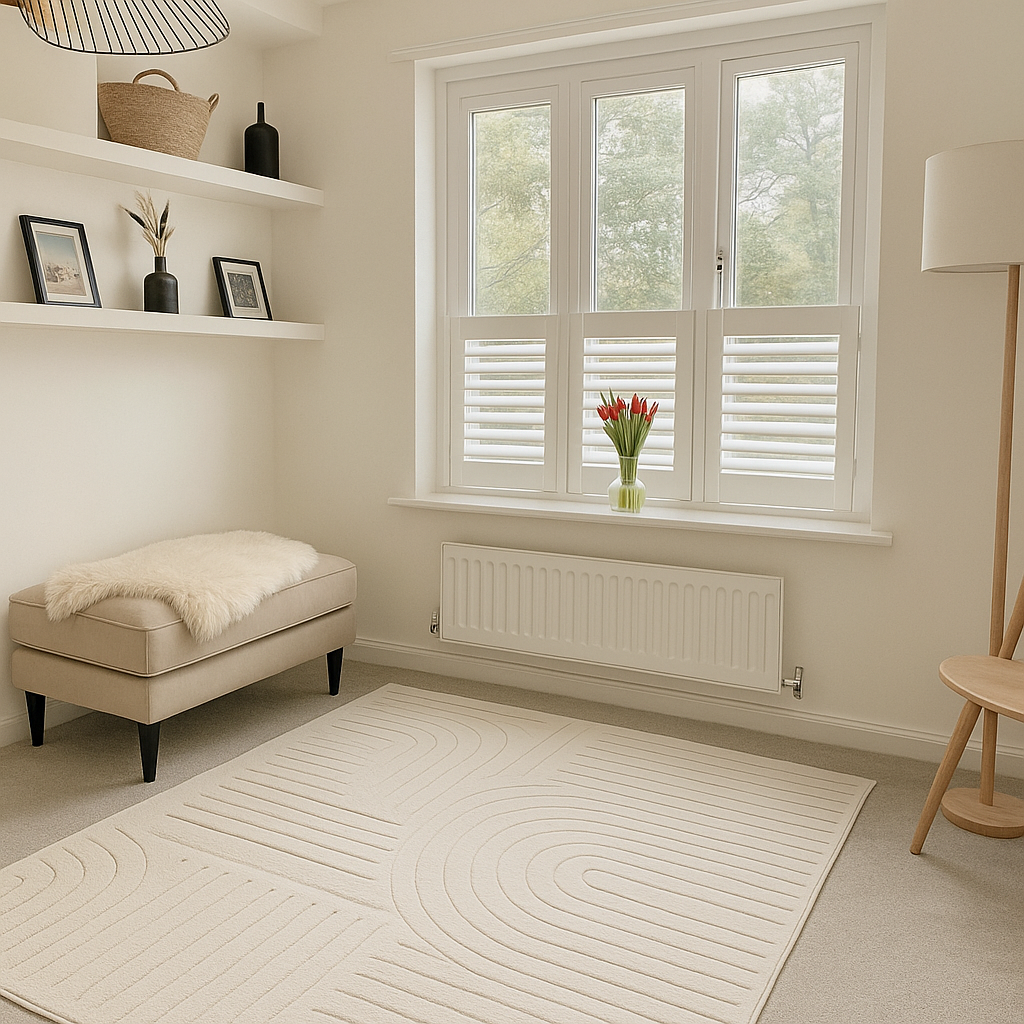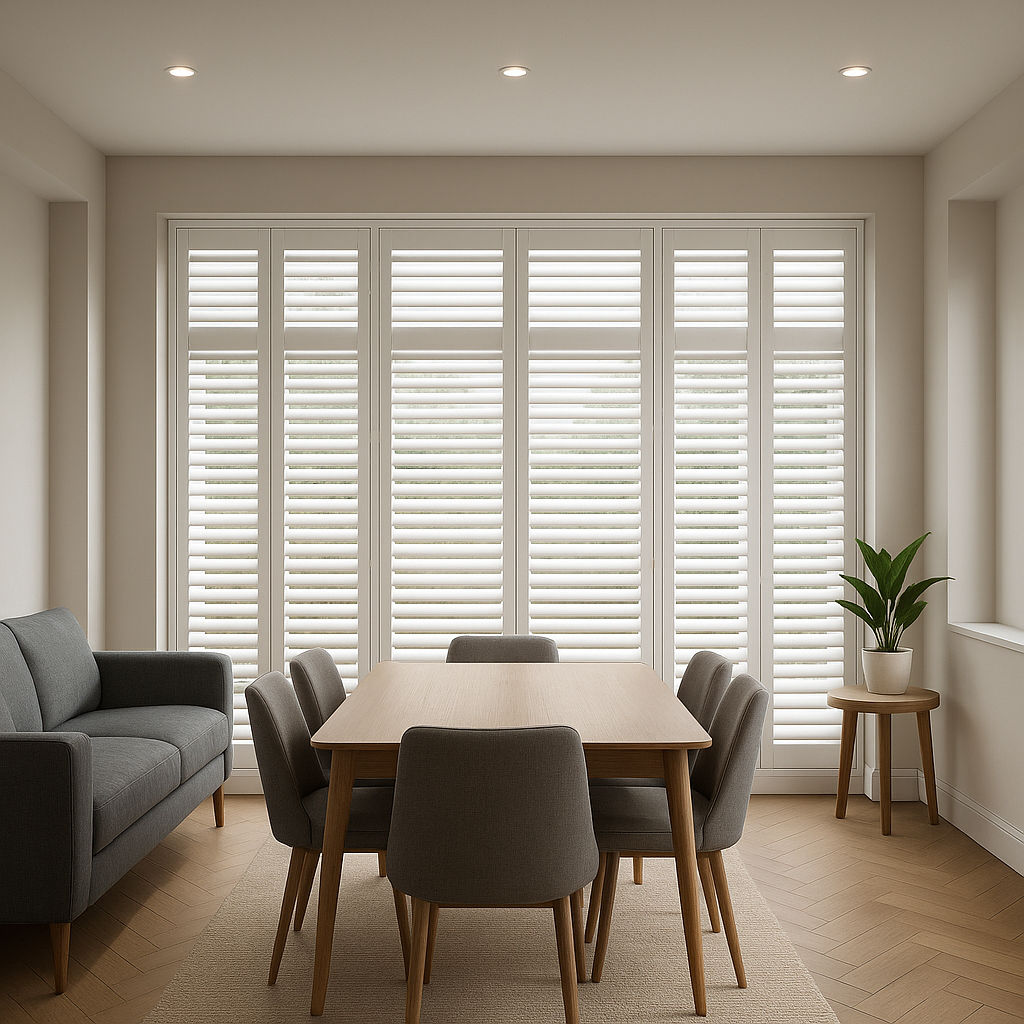

Full height shutters run from the top of the opening to the bottom. That gives you precise control over light, privacy, and insulation, and makes them a practical fit for many UK homes, from period terraces to newer builds.

That broad fit still depends on the window being measured correctly. On sash windows, the mid-rail is usually aligned with the meeting rail to keep the proportions looking right.
By contrast, bay and bow windows need each section measured and framed separately so the angles are followed accurately. Casement windows are typically fitted inside the recess, which leaves the sashes free to open once fitted and folded back.
The same principle applies to larger glazed areas. For patio doors and floor-to-ceiling glass, lightweight hardwood helps keep wide panels easy to handle in daily use, and larger openings are often better split across separate shutter frames.
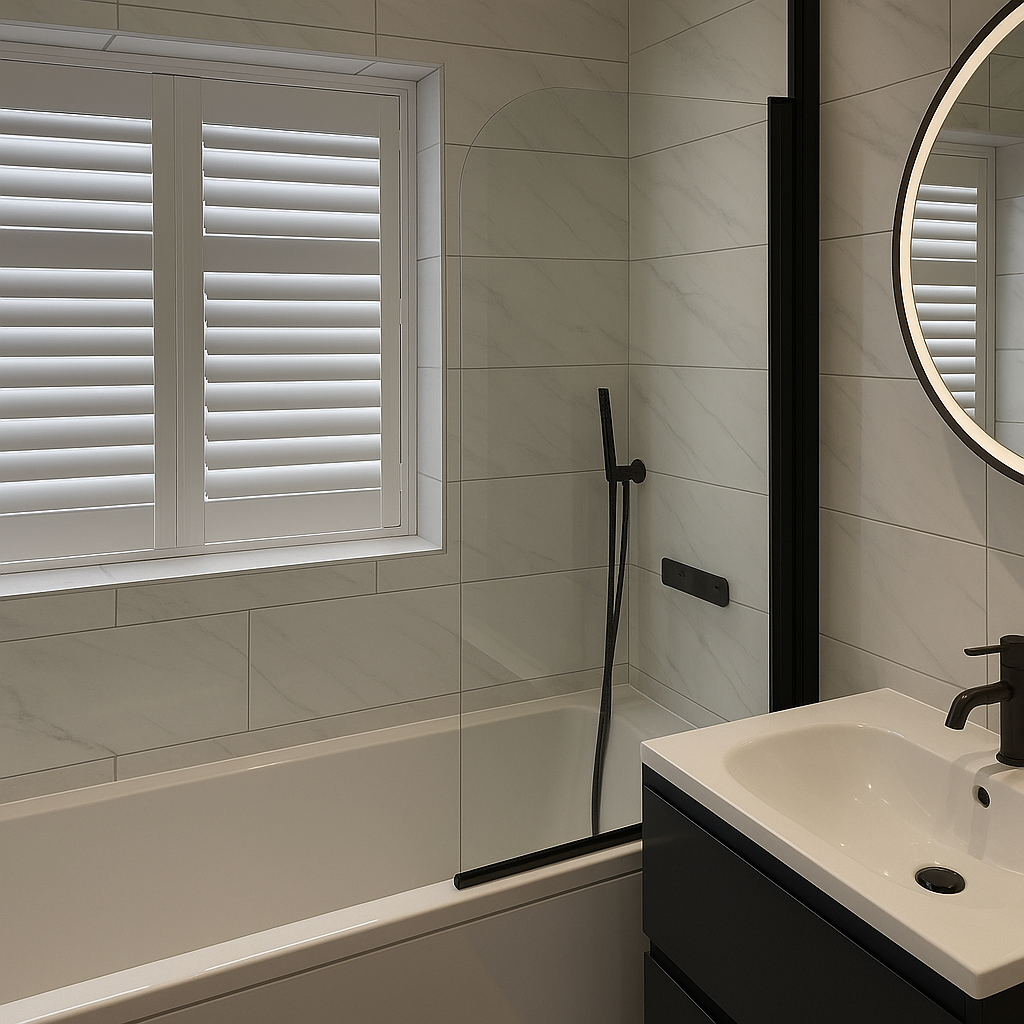
Once the window style is clear, the next decision is material. The right choice when selecting full height shutters depends mainly on the room: waterproof faux wood or PVC suits bathrooms and kitchens, hardwood is better for dry spaces and can last 20–30 years with proper care, while MDF composite is a more budget-focused option for painted finishes.
Once the material and louvre size are set, tilt control is straightforward. You can choose a central rod for a more traditional appearance or a hidden rod for a cleaner finish: both move the louvres in the same way.
A mid-rail divides the panel horizontally so the upper and lower louvres move independently, which helps when you want daylight at the top but privacy at street level. Worth knowing before you order: for any window over 1500mm high, a mid-rail is essential, and Shutters365 will automatically split the operation at that point.
Full height shutter installation follows three clear stages: measuring, mounting, and finishing. Each one sets up the next, so small errors at the start tend to show up later as alignment issues and extra adjustments.

The shutter installation instructions call for width and height measurements at three points each: top, middle, and bottom, then using the smallest reading in each direction. For an inside mount, deduct 5–10mm to give the shutter frame enough clearance.
Once you’ve measured, record anything that projects into the opening. Window handles, locks, and restrictors all need noting before production, because missed obstructions often lead to awkward refits.
With measurements confirmed, the fitting sequence is the same regardless of frame type. Lay the shutter frame flat and assemble it by frame type: L Frames use Hoffmann keys tapped in with a rubber mallet, while Z Frames fix together with screws through pre-drilled holes. Remove any cover strips from the drilled holes before the frame goes into place.
From there, Shutters365 supplies the main parts in the kit: labelled frames, hinge pins, hinge packers, cover strips, packer spacers, and drill cover caps. Match your wall plugs and screws to the surface, since plaster, wood, and steel each need different fixings.
Once the frame is secure, hang the panels in order from left to right. Panel A goes on the far left, after which you insert each hinge pin in sequence, close the panels, and shift the frame slightly left or right until the tops line up evenly, then fix it fully in place.
That is where final adjustments come in. Use hinge packers for Z-axis adjustments, and loosen the outer screws when vertical corrections are needed. Screw covers over the hinge holes and a bead of decorator’s caulk along the frame-to-recess gap complete the finish.
As a result, Shutters365 also provides guidance for awkward details, including drilling into uPVC frames, in its full height shutters fitting guide.
Knowing the full height shutter installation cost early makes budgeting easier. Professional shutter installation usually adds £50–£100 per window, so a room with three windows can mean roughly £300 in labour. By contrast, DIY installation removes that cost altogether and can save you £200 or more per room.
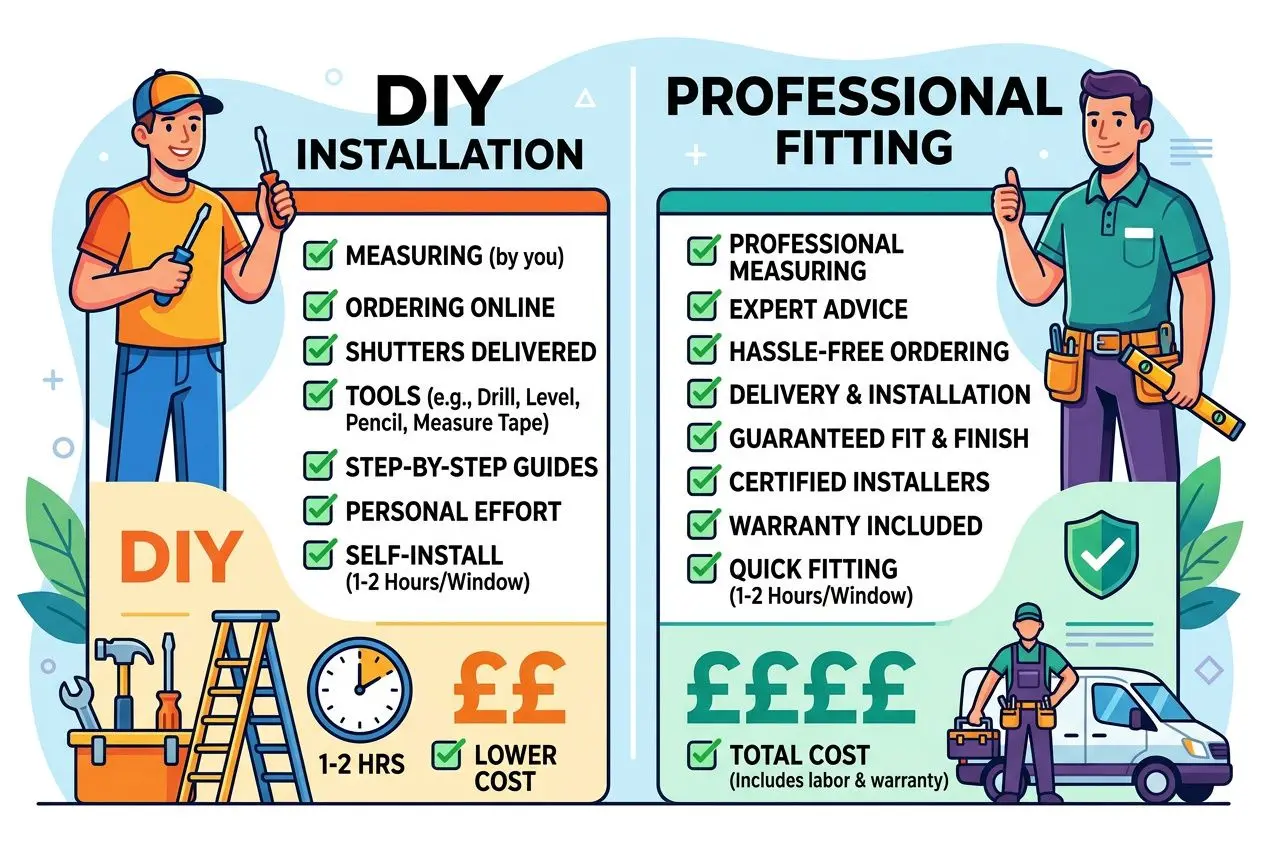
That labour cost is where most of the difference sits. Quotes for installation also vary by location, and areas with fewer specialist fitters often see higher prices and longer lead times. That makes DIY worth considering when you want more control over timing as well as cost.
Shutters365 prices made-to-measure full height shutters from £127/m², up to 40% less than major brands.
| Option | Cost per window | Time | Skill level |
| Professional installation | £50–£100 labour | Under 1 hour | Not required |
| DIY installation | £0 labour | 1–2 hours | Basic DIY |
| DIY saving per room | £200+ | 1 day or less | Guided by video |
Shutters365 uses a shutter configurator that takes you through material, louvre size, tilt mechanism and exact dimensions. No home visit is needed, and most orders are completed in under five minutes.
From there, material choice and room use determine which product suits you best. Hardwood full height plantation shutters typically last 20–30 years, which makes the upfront cost look far more competitive against blinds over time. For kitchens and bathrooms, faux wood and PVC plantation shutters offer moisture resistance at a lower starting price.
Having shutters installed without waiting for a fitter’s diary gives you more flexibility. Shutters365 email support is available if you need help during installation.
To install full height shutters yourself, start by measuring the width and height at three points each and use the smallest figures. For an inside mount, allow clearance by deducting 5–10mm. Once you’ve measured, assemble the frame flat on the floor, lift it into the recess with packer wedges to centre it, then check it with a spirit level.
From there, fit the top screws first, leaving them halfway in so the frame can still be adjusted. Hang the panels from left to right, starting with panel A, and line up the tops before drilling the remaining fixing points. Shutters365 provides video guides and email support for installing full height shutters, including advice for uPVC frames.
Those fixings and frame adjustments call for a short list of tools. You will need a metal tape measure, pencil, spirit level, screwdriver, and drill. A rubber mallet also helps when assembling full height window shutters: it lets you tap Hoffmann keys into L Frame corners without marking the frame.
Because the frame needs to stay centred while you secure it, packer wedges or cardboard shims hold it steady while you drive the screws. The hardware kit supplied by Shutters365 includes labelled frames, hinge pins, hinge packers, cover strips, and drill cover caps. Add decorator’s caulk, the correct wall plugs for your surface, and the tools above to install full height shutters properly.
Because the frame carries the weight of the panels, full height shutters in a traditional framed design still need screws fixed into the recess or surrounding wall. The right choice when you need secure support is a properly fixed frame, especially for everyday use.
By contrast, shutters fitted in this way can be removed from the frame without damaging the panels themselves. At the end of a tenancy, the frame can be unscrewed, the wall made good, and the shutters refitted elsewhere if the new window dimensions match.