
This guide covers everything you need to know about tier on tier shutter fitting, from understanding how the design works to measuring accurately, positioning the dividing rail, and choosing the right material for a lasting, professional result.
Tier-on-tier shutters are built for precise light and privacy. Each window is split into separate upper and lower sections, so you can control them independently rather than moving one full panel. Shutters365 offers tier on tier shutters with full made-to-measure shutters customisation, starting from £127/m².
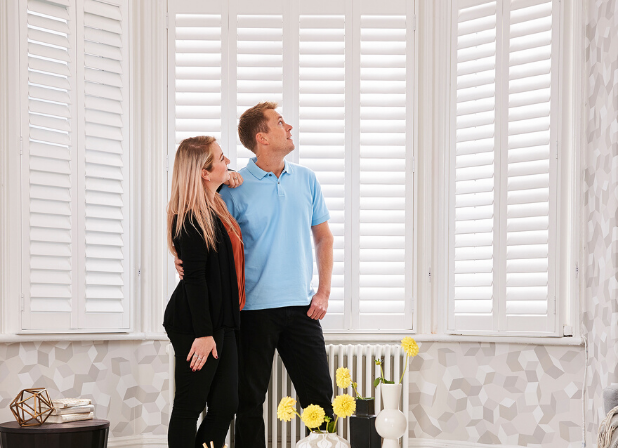
The term refers to top and bottom shutter panels set within one frame, with each section moving on its own hinges. That is the core of what is tier on tier shutters: two stacked tiers, each with its own louvres, giving you separate control over airflow, privacy and daylight.
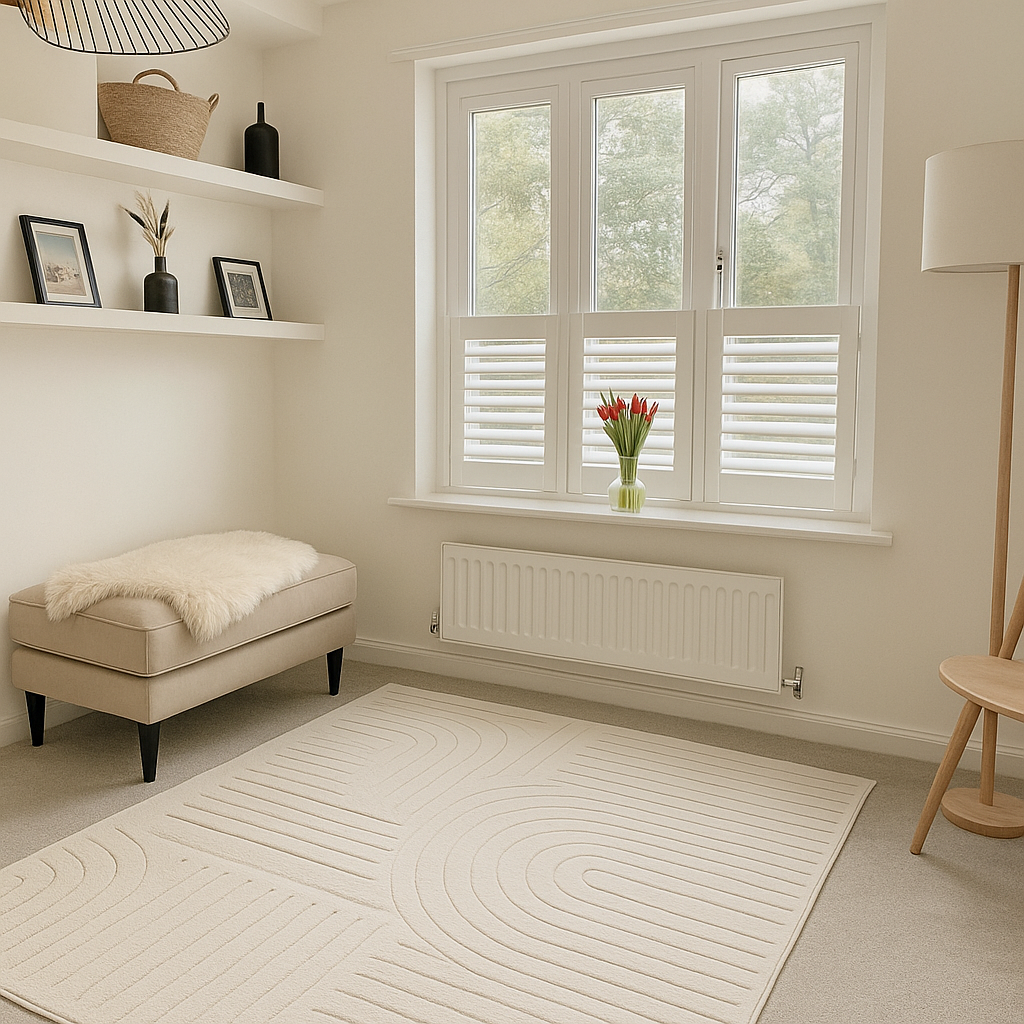
By contrast with full height shutters, you can leave the bottom panels shut for privacy, angle the upper louvres for glare control, or have bottom panels open for airflow while the top remains partially closed. The result is finer light control: each tier adjusts independently, so glare, privacy and airflow can be set without compromising the other section.
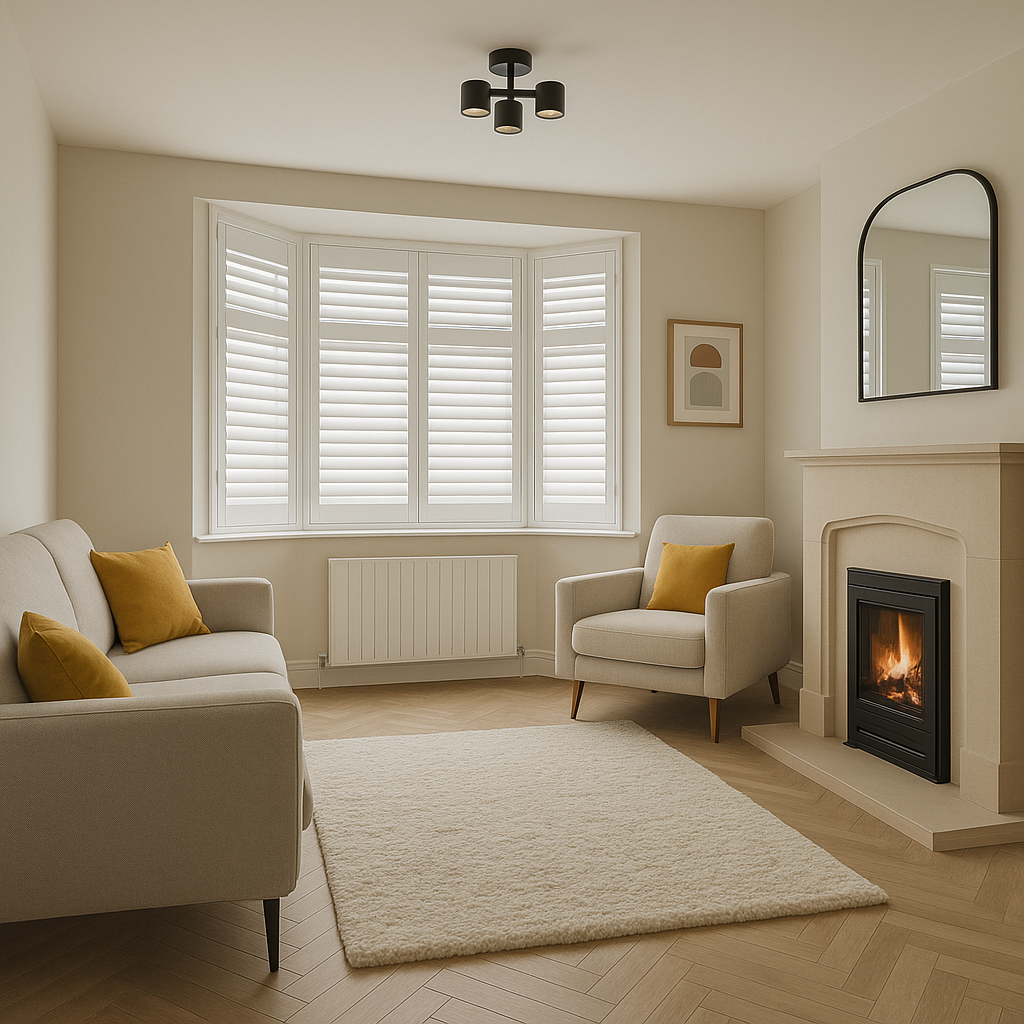
That independent operation only delivers its full benefit if the split is positioned correctly from the outset. Measuring the full height and width of the opening, then deciding where the split should sit, will determine whether your tier on tier installation looks balanced or awkward. A grey tier on tier finish tends to look strongest when the dividing line follows an existing feature such as the meeting rail on a sash window.
Once you’ve measured, enter each measurement into the Shutters365 DIY shutter configurator to choose material and louvre width before you order.
Once the split position is set, the fitting stage follows the same layout. Because the upper and lower sections work separately, the frame has to be square and rigid before you hang any panel. A frame that is even slightly out of square will show immediately once the panels are hung.
The Shutters365 DIY shutter fitting guide covers each stage in more detail, including shutter blinds and solid panel options. If you are comparing methods for how to fit tier on tier shutters, it gives you a reliable sequence to work through before and during installation.
With the fitting method covered, cost usually comes down to window size, material and whether you install the shutters yourself or pay for fitting. Tier on tier shutter fitting cost also changes if you choose specialist systems such as no drill tier on tier shutters, which can suit rented homes or listed buildings where fixings are restricted. The right choice when long-term stability matters is still a drilled four-sided frame.
| Material | Best suited for | Key benefit | Finish options |
| Basswood (hardwood shutters) | Living rooms, bedrooms | Classic grain, natural insulator | Painted or stained |
| Paulownia (tier plantation shutters) | Period properties, large windows | Lightweight sustainable hardwood | Painted or stained |
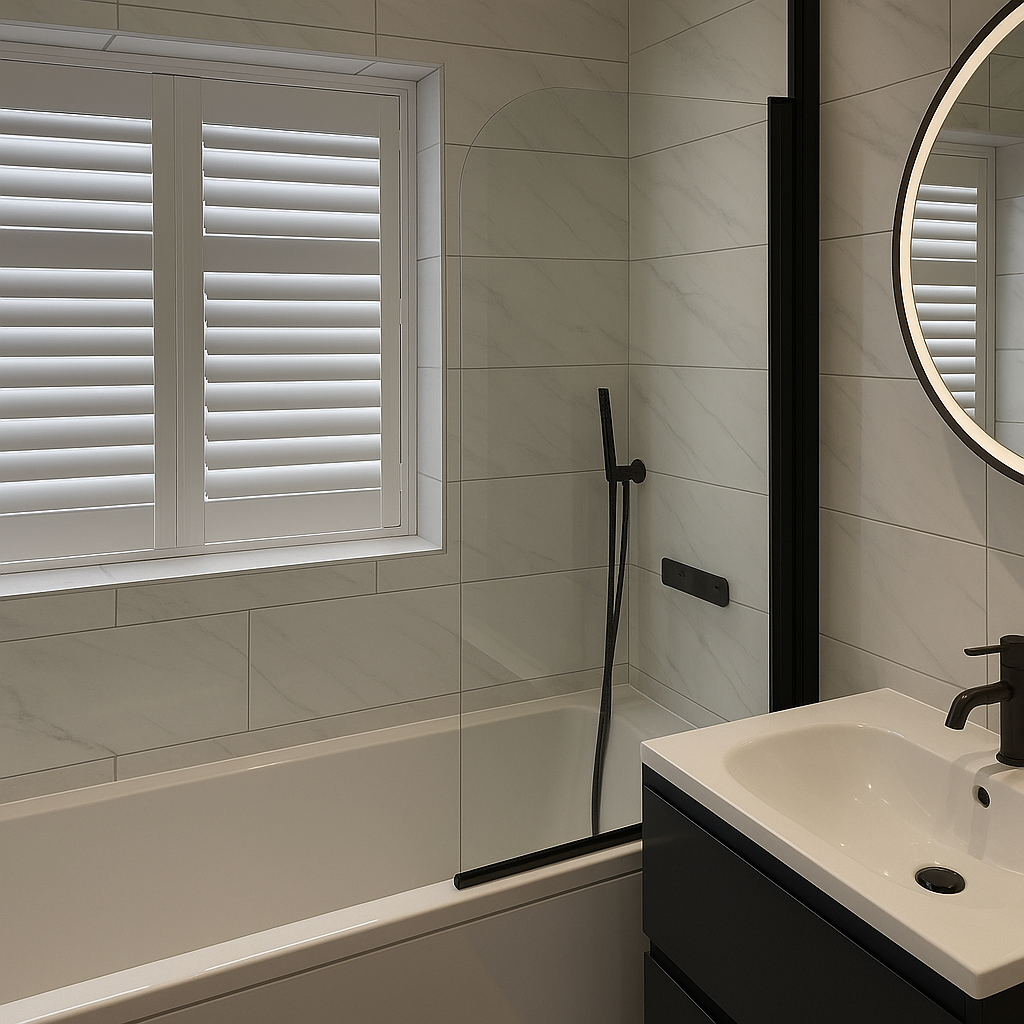
| PVC (HSPVC) | Bathrooms, kitchens | 100% waterproof, won’t warp | Premium painted finishes |
Shutters365 supplies all three as made-to-measure plantation shutters, with louvre widths of 63mm, 76mm or 89mm. Wider blades usually improve daylight and give a cleaner look, while 89mm often suits contemporary rooms best. Manufacturing and delivery can be as quick as two to five weeks from order confirmation.
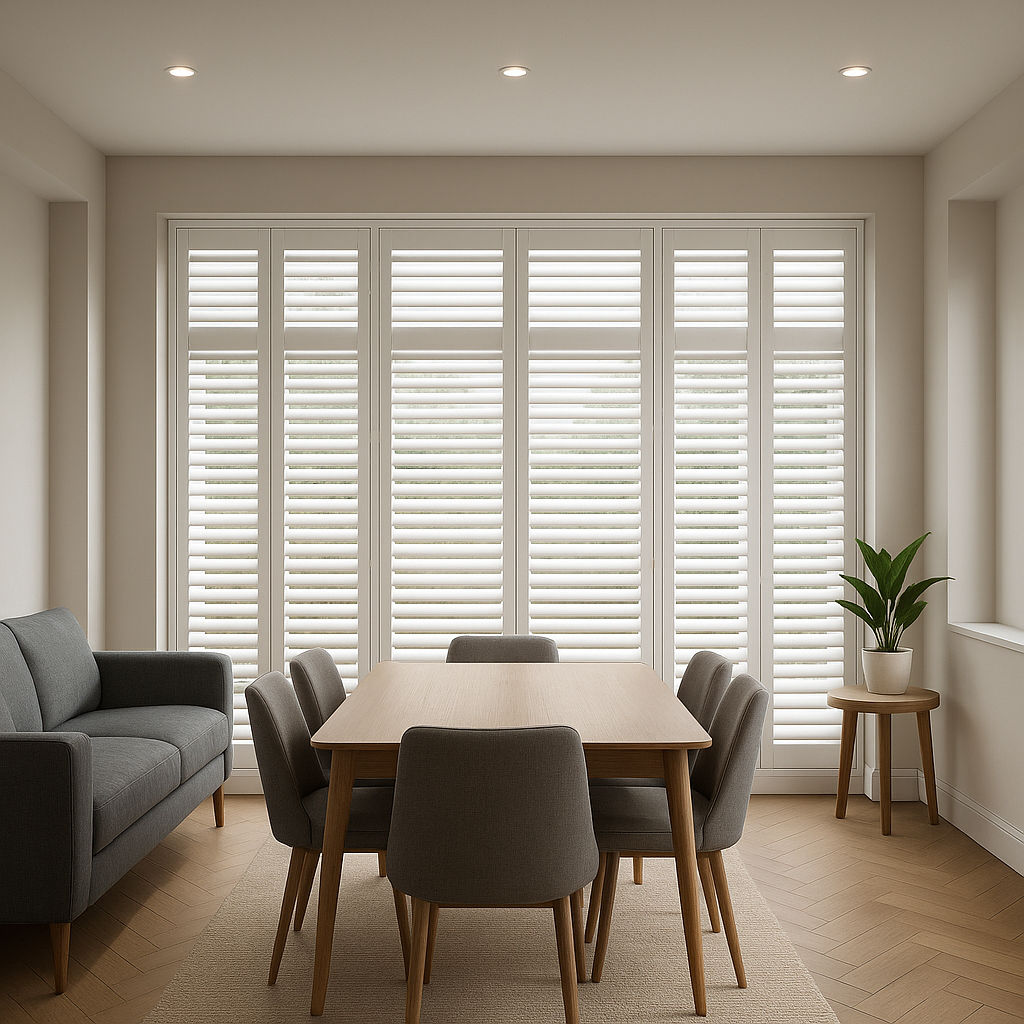
To fit tier on tier plantation shutters properly, you start with a full four-sided frame set square and level inside the window recess. From there, the horizontal T-post is fixed at the chosen dividing rail height, most often around the midpoint of the window: this creates the split between the upper and lower sections.
Once that frame is in place, hang the lower tier shutter panels first, then the upper set. Check that each section opens and closes independently, and adjust the hinges until both tiers move and tilt smoothly. Shutters365 supplies a free step-by-step fitting guide, so plantation shutters can be fitted as a DIY job without specialist tools.
Because the construction is more involved, tier on tier styles usually cost more than café-style or full-height shutters. That extra complexity, additional hinges and the T-post, adds to both manufacturing time and materials cost.
At Shutters365, prices start from £127/m², which sits well below the wider market average. Every order is also covered by a 10-year guarantee on materials and workmanship.
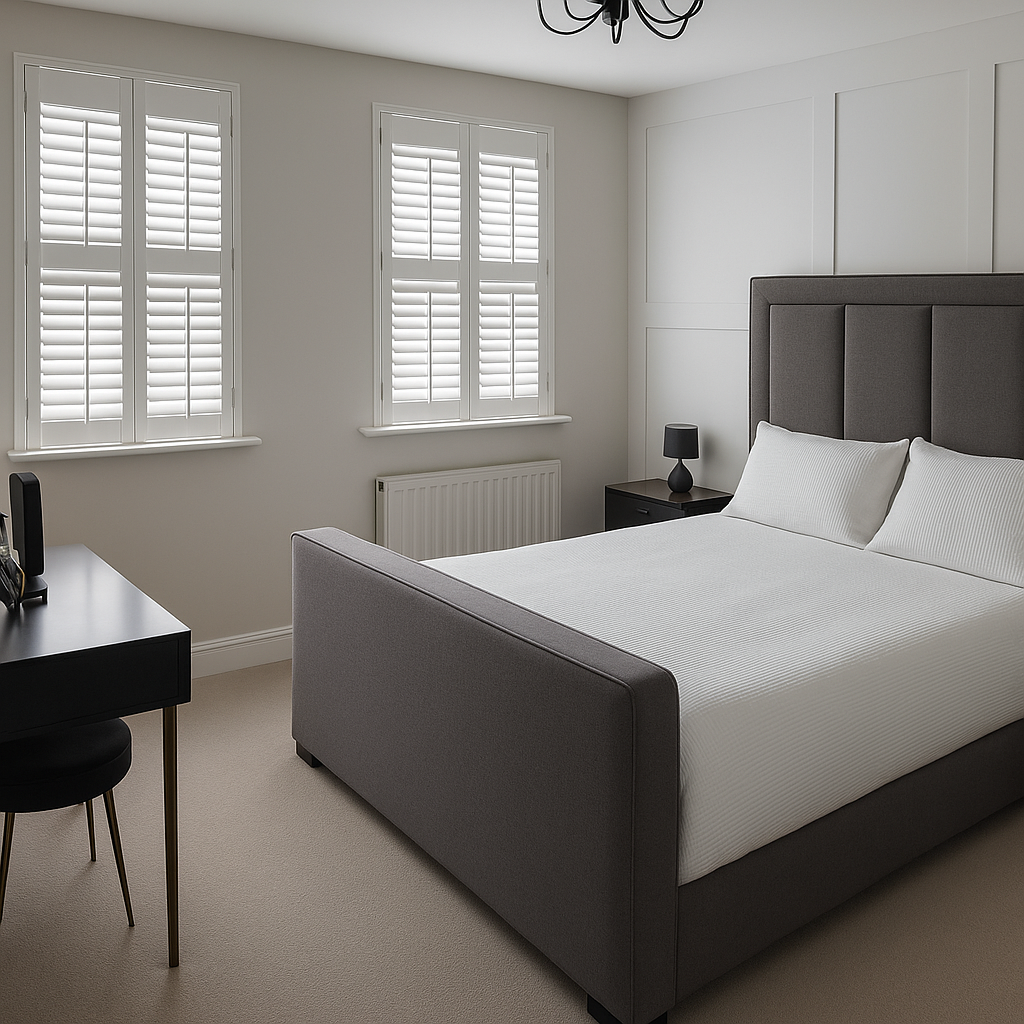
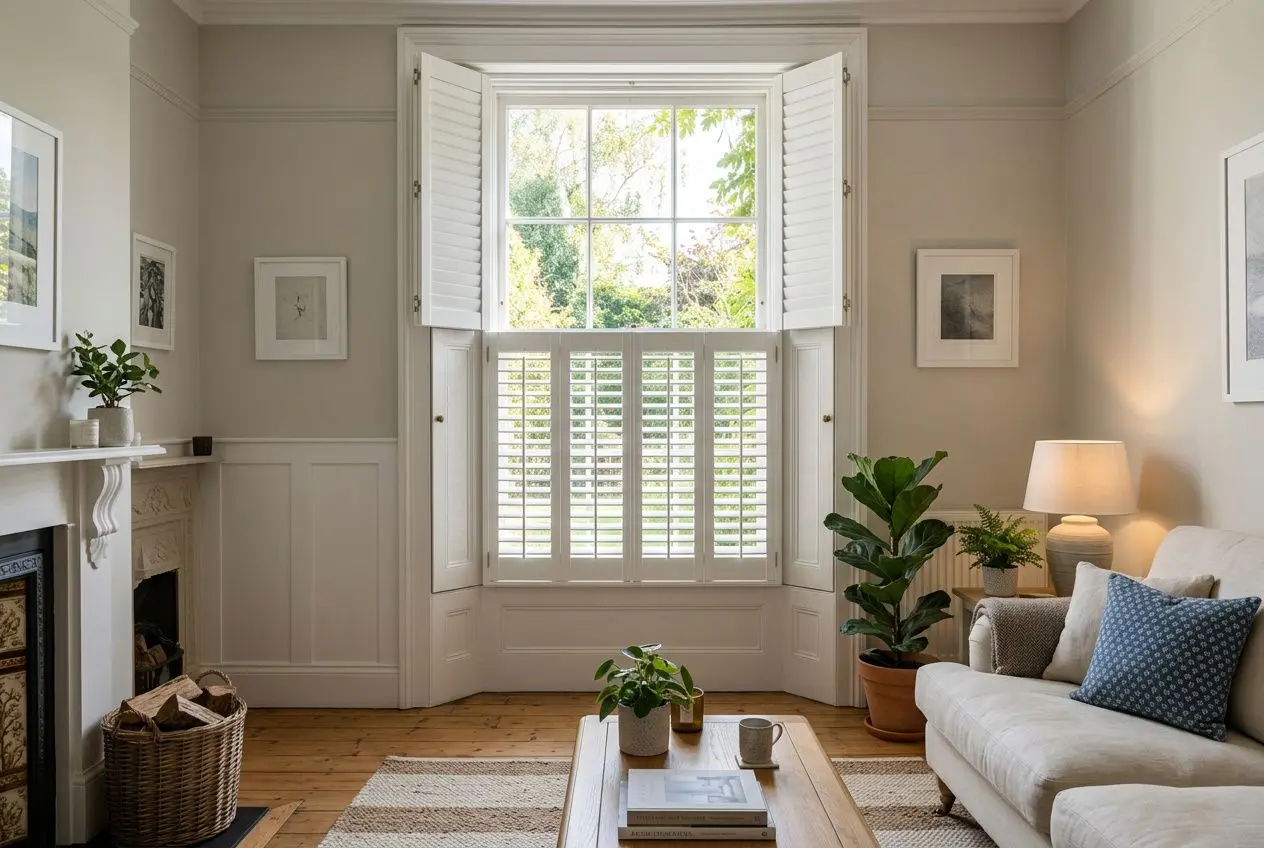
They are especially effective on overlooked or street-facing ground-floor windows, where the lower half of the window needs more cover than the upper half. The right choice when you want privacy and daylight at the same time, this layout lets each section work independently.
In practice, keeping the bottom panels closed blocks direct sightlines while the top section stays open for light. On a sash window, for instance, the bottom tier can be closed to eye level while the top sash lets in a full band of natural light.