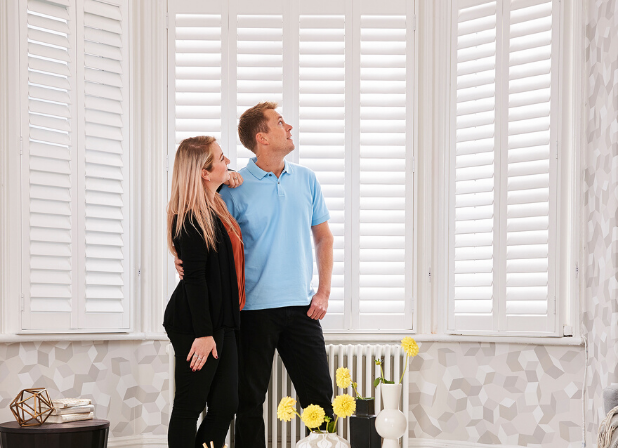

By Shutters 365 – Updated for 2025
When it comes to fitting beautifully made-to-measure shutters, the biggest question that comes to mind is “how to measure for shutters” The answer is that accuracy is everything. The good news? Measuring your own windows is easier than you might think. With just a few tools, a steady hand, and our simple step-by-step guide, you can get professional-grade results without the extra cost.
Whether you’re measuring a standard window, bay window, box bay, exterior shutters, outside shutters, and plantation shutters this guide walks you through the exact process our Shutters 365 team uses every day.
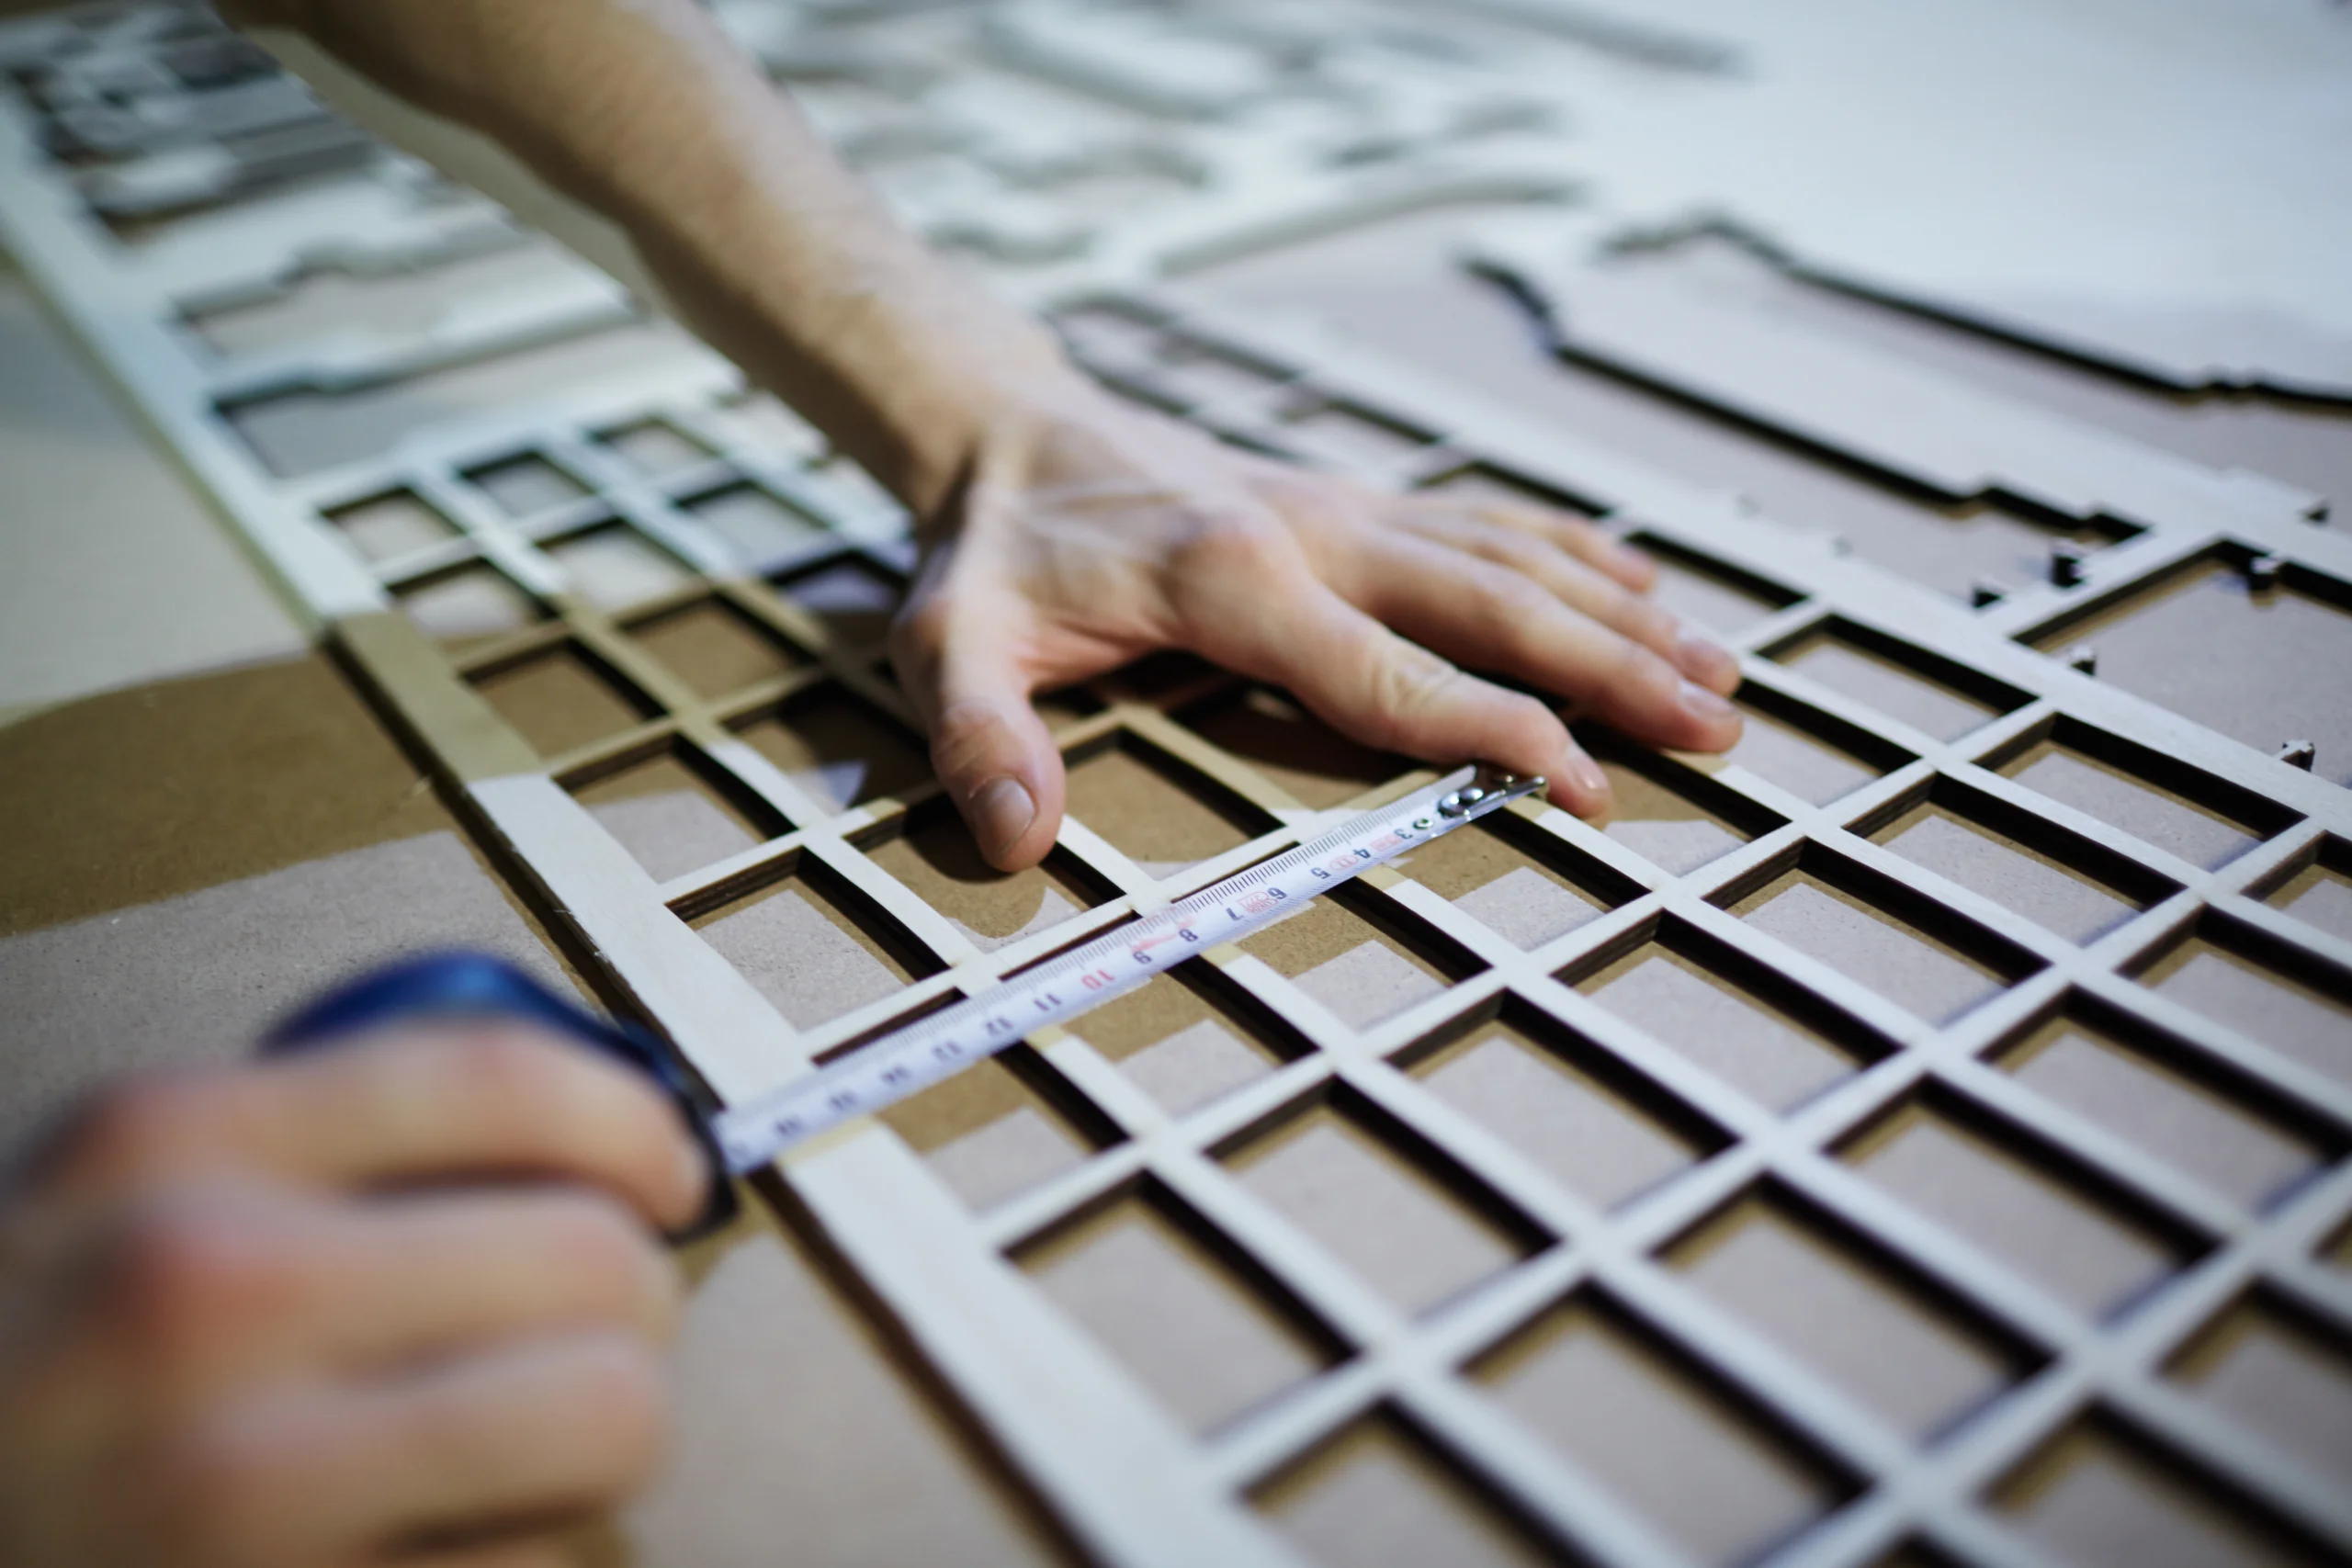
Always measure in millimetres (mm) and record every number exactly as you see it — don’t round up or down.
Before you start, decide how your shutters will fit:
Golden rule: Measure twice – order once.
For standard windows, choose between:
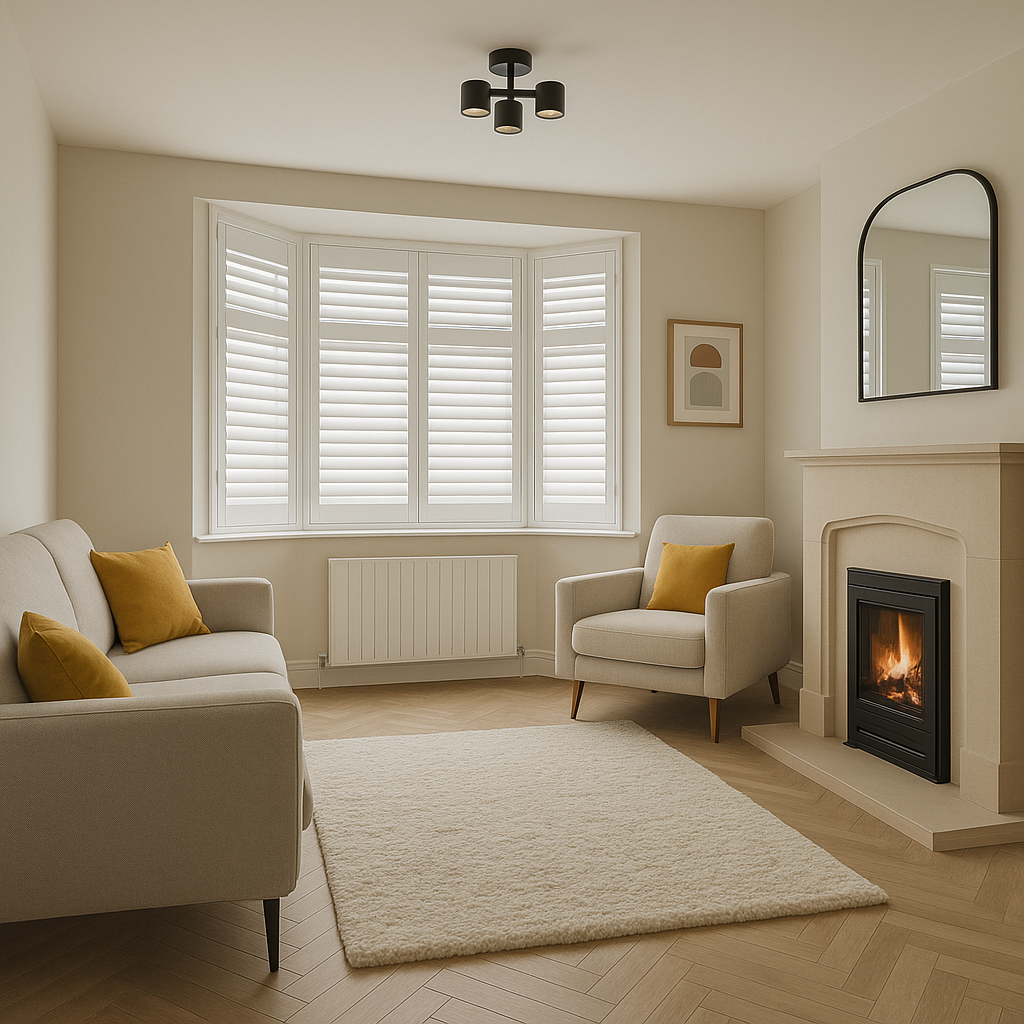
For bay and box windows, you’ll use our L50 frame system, following the printed templates at 100% scale.
Standard Windows:
Bay & Box Windows:
For all window types:
Each louvre size requires a minimum depth for clearance:
| Louvre Size | Minimum Recess Depth |
|---|---|
| 64 mm | 60 mm |
| 76 mm | 70 mm |
| 89 mm | 75 mm |
| 114 mm | 85 mm |
If handles or vents project into the recess, you’ll need build-outs — small spacer blocks (usually 20 mm or 30 mm) to create the clearance your shutters need.
For taller shutters, mid-rails add strength and balance:
Measure from the sill to the centre of each mid-rail position.
For bay windows, use the same height for all sections for perfect alignment.
Depending on your chosen shutter style:
Measure both diagonals of your window (corner to opposite corner):
If you’re fitting shutters outside the recess, you’ll need to allow space for the frame to overlap the opening.
💡 This extra 40 mm ensures full coverage and hides uneven edges or out-of-square frames
If your bay corners aren’t standard (90° or 135°):
Number your bay sections from left to right — for example:
Each section is made as an individual frame that joins neatly at the corners.
Small gaps can be filled with caulk during installation.
Once your measurements are complete, you can submit them via the Shutters 365 online configurator. Every set is made-to-measure, crafted from high-quality PVC or hardwood, and delivered ready for your DIY installation.
If you’d like a printable version, download our official measuring guides:
If you’ve been thinking about transforming your windows with stylish, made-to-measure shutters, you’ve probably wondered — how much do DIY shutters actually cost?
Checkout safely with Stripe — encrypted, secure, and trusted worldwide. Pay with Visa, MasterCard, Amex, or PayPal.
info@shutters365.co.uk
Unit 82a
James Carter Road,
Bury St. Edmunds,
IP28 7DE
Our registered office is listed above. Please note this is not a showroom or returns address.
© Shutters365 Ltd ®.(Registered in England and Wales Co. No.16654353).