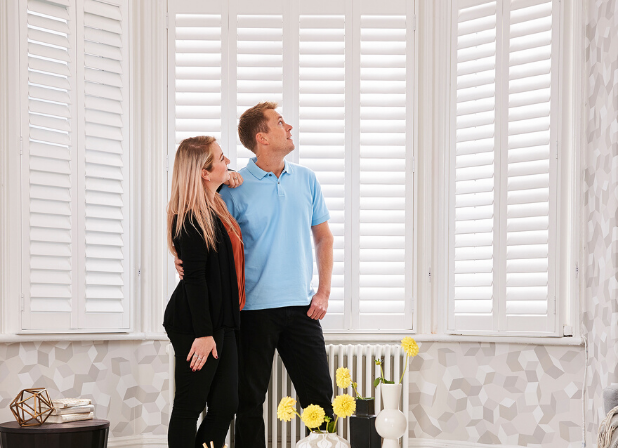

Window shutters are sturdy, louvred covers fitted to the inside or outside of a window frame, offering excellent light control and insulation. In Britain, the most popular style is the plantation shutter with wide adjustable slats, but many variations exist (e.g., café-style or tier-on-tier shutters).
DIY shutters simply means you order made-to-measure shutters and install them yourself, rather than having a company fit them. This can save hundreds of pounds without sacrificing quality. In this guide, we’ll explain how DIY shutters work, the tools and steps needed, and how to measure, order and fit them. (For step-by-step instructions, see our own Measuring Guide and Fitting Guide on Shutters365.)
The primary reason most homeowners choose DIY shutters is cost. High-quality shutters are manufactured to the same standards whether they are installed by a professional fitter or fitted by the homeowner. The difference in price comes almost entirely from labour, not from the product itself.
Many UK shutter suppliers highlight that DIY shutters are significantly more affordable than full-service installations. For example, Shutters365 explains that DIY shutters are made in exactly the same way as professionally fitted shutters, but are typically sold at around one-third of the usual price. Similarly, companies such as Shutters365 offer competitive factory-direct pricing, with PVC shutters starting from approximately £127 per square metre and Paulownia hardwood shutters from around £145 per square metre, making them up to 40% cheaper than major branded shutter retailers.
Other well-known suppliers, including Shutter Shop, also emphasise that DIY shutters provide the same premium-quality product at a more accessible price point, simply because installation fees are removed from the overall cost. Importantly, there is no compromise on quality. DIY shutters are factory-finished, pre-drilled, and delivered ready to fit. Many come with long guarantees, often up to 10 years, which is comparable to warranties offered on professionally installed shutters.
In practical terms, this means homeowners can enjoy custom-made, British-manufactured window shutters at a fraction of the cost normally associated with bespoke shutter installations.
Beyond cost savings, DIY shutters also offer greater flexibility. Homeowners can design their shutters online by selecting the preferred style, louvre size, material, and frame type in just a few minutes. Shutters365, for example, provides free measuring templates and clear guidance, allowing customers to measure their windows accurately and configure their shutters online with confidence.
Because each shutter is made to your exact measurements, you benefit from a precise fit without the need to wait weeks or months for a surveyor and installer. For those with basic DIY skills, fitting shutters can also be a satisfying project. Many UK suppliers agree that installing shutters does not need to be complicated, especially when supported by clear measuring and fitting guides that simplify the process.
DIY shutters are available in a variety of styles, allowing homeowners to choose a design that suits both their window type and interior décor.
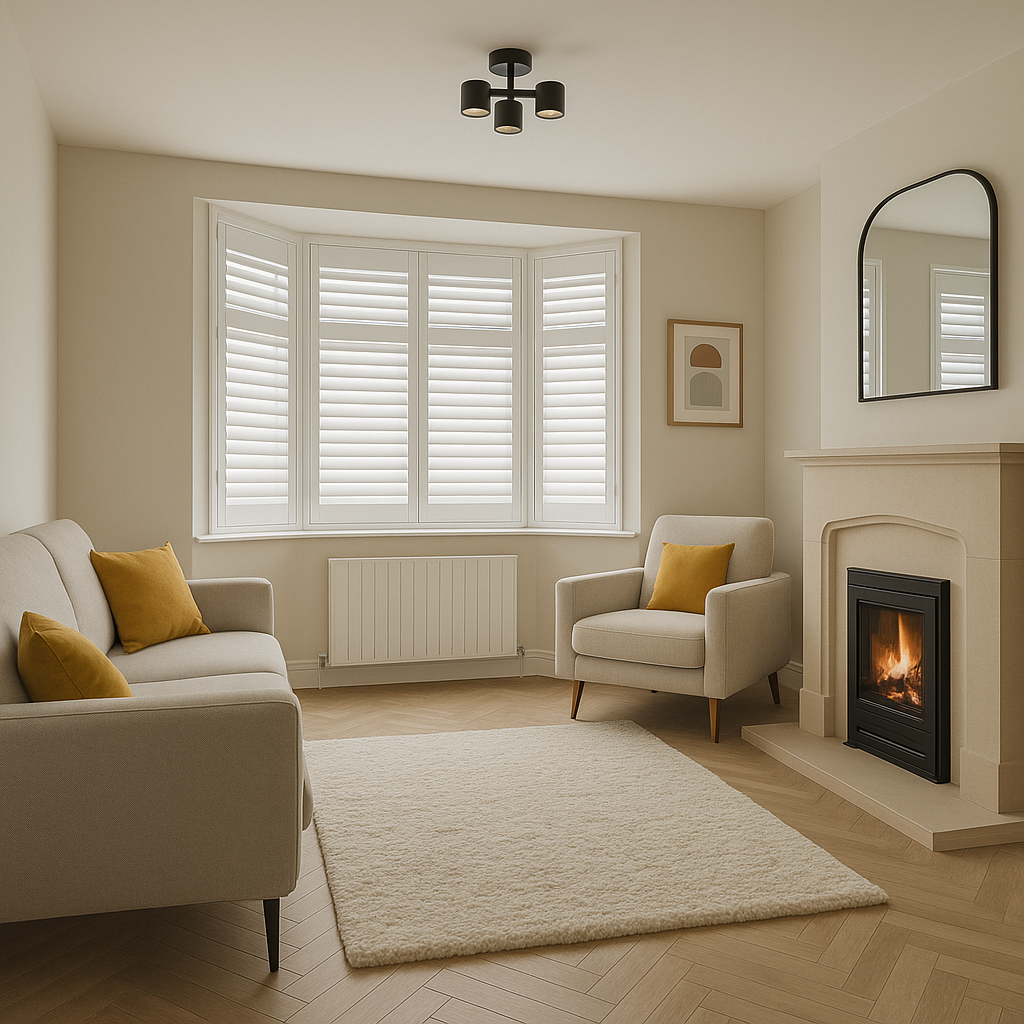
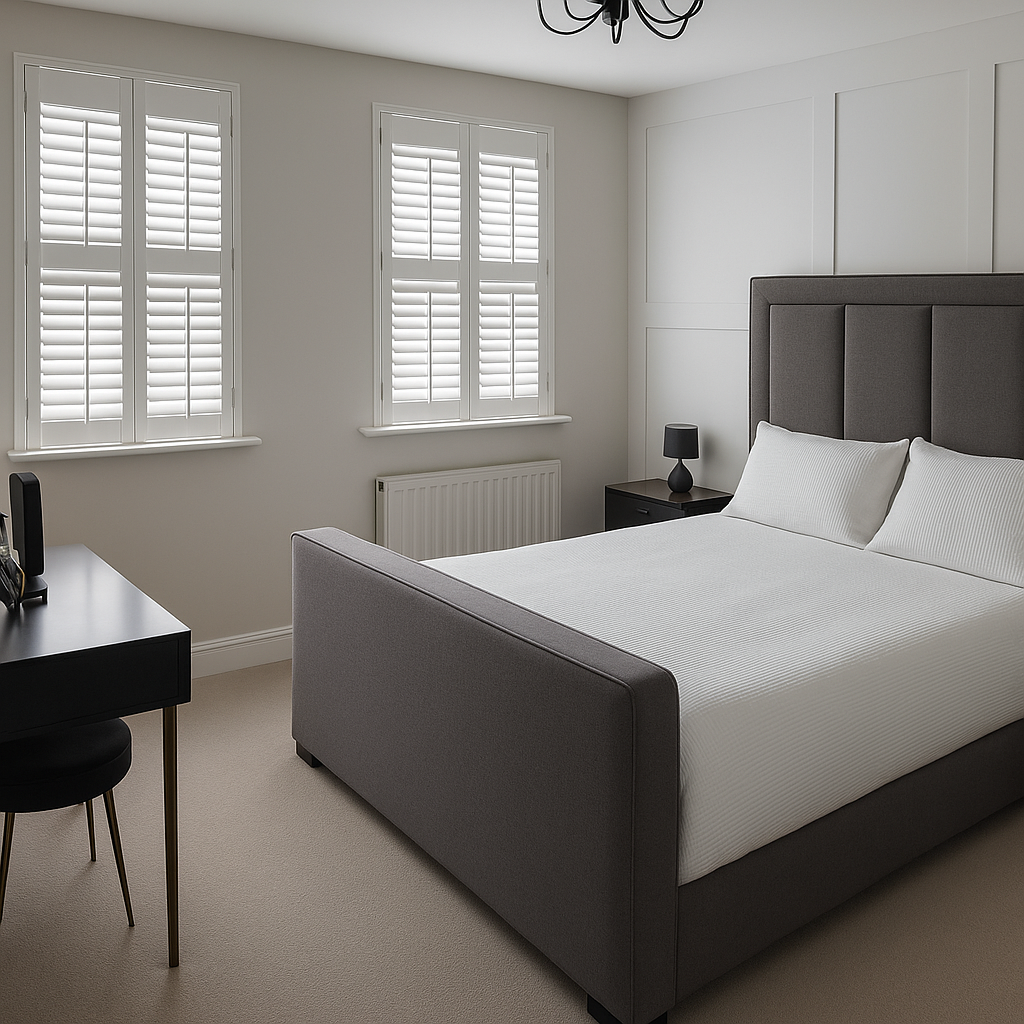
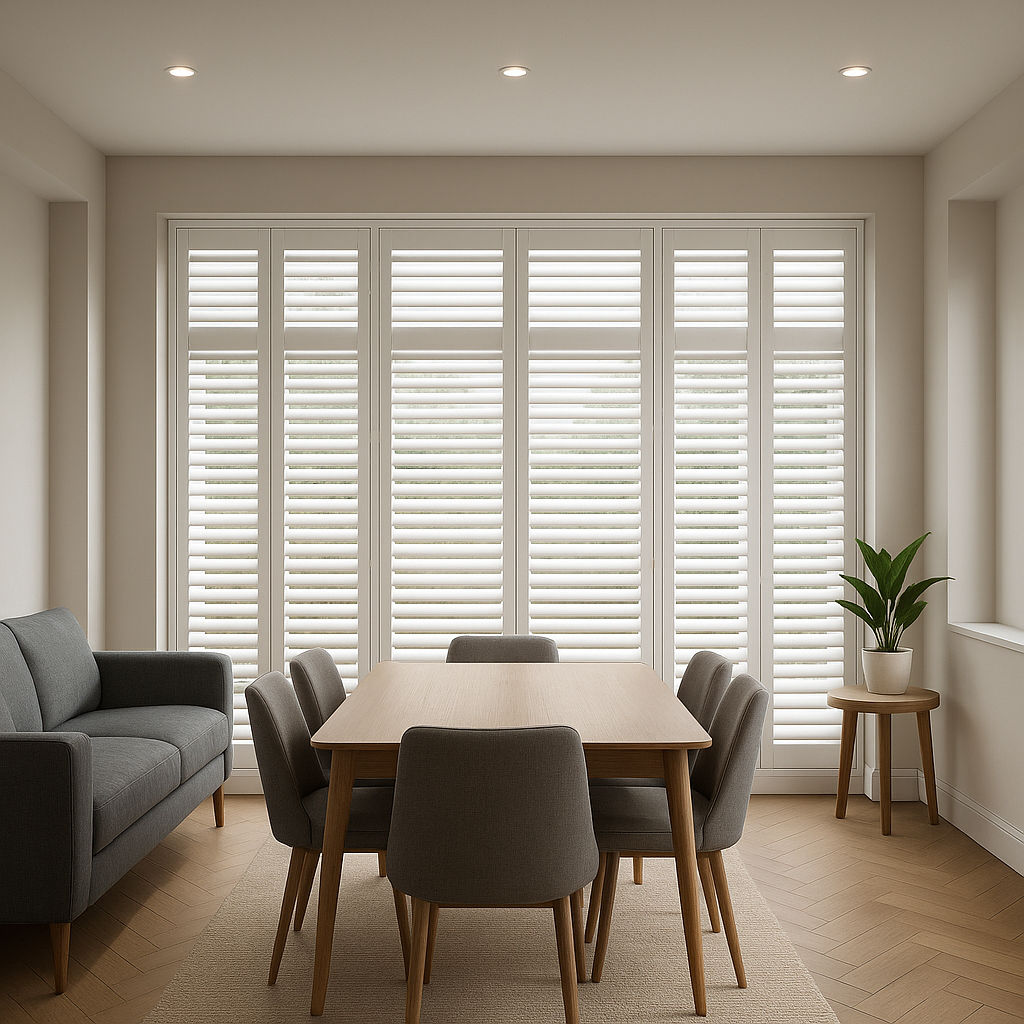
Full-Height Plantation Shutters
Cover the entire window from top to bottom.
Provide maximum privacy and light control.
Create a clean, balanced appearance.
Commonly used in living rooms and bedrooms.
Tier-on-Tier Shutters
Consist of two independently operated panels (top and bottom).
Allow separate control of light and privacy for each section.
Ideal for rooms where daylight is needed above while maintaining privacy below.
A popular choice for traditional and modern homes.
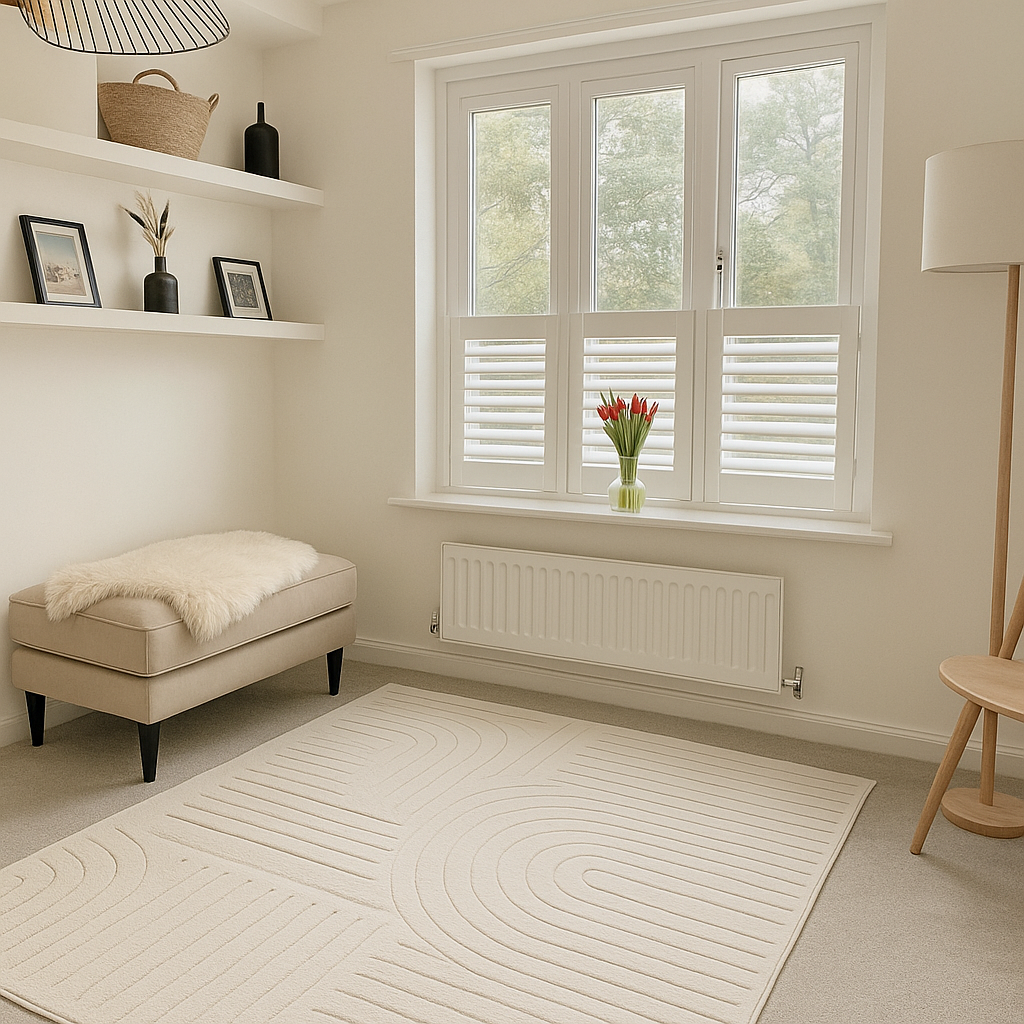
Café-Style Shutters
Cover only the lower portion of the window.
Leave the top half open for natural light.
Commonly used in kitchens, dining rooms, and street-facing spaces.
Provide privacy at eye level without darkening the room.
Half-Height Shutters
Similar to café style but typically slightly taller.
Offer a balance between light entry and privacy.
Solid Panel Shutters
Feature solid panels instead of louvres.
Provide full blackout and insulation.
Often chosen for period properties or bedrooms.
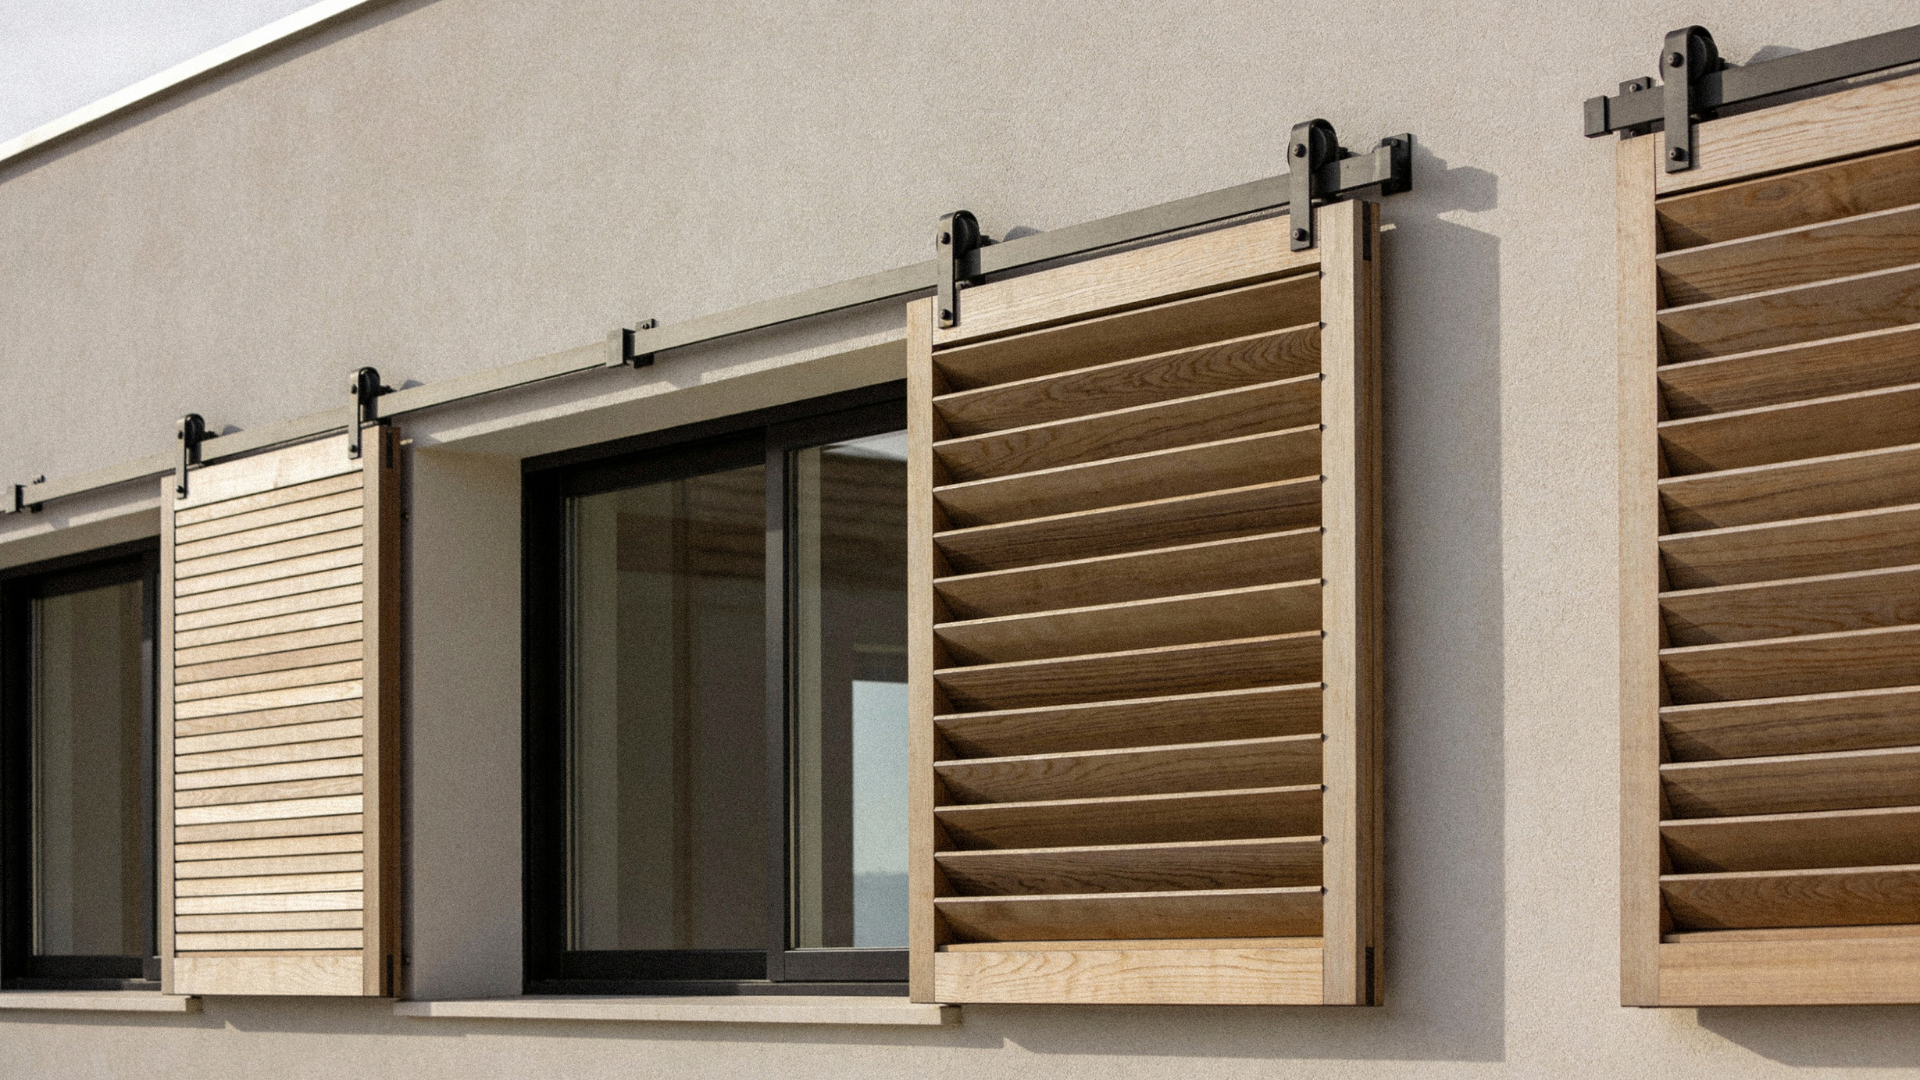
Bay and Shaped Shutters
Designed for angled, curved, arched, or unusual window shapes.
Manufactured to precise measurements.
May require a professional survey for accuracy.
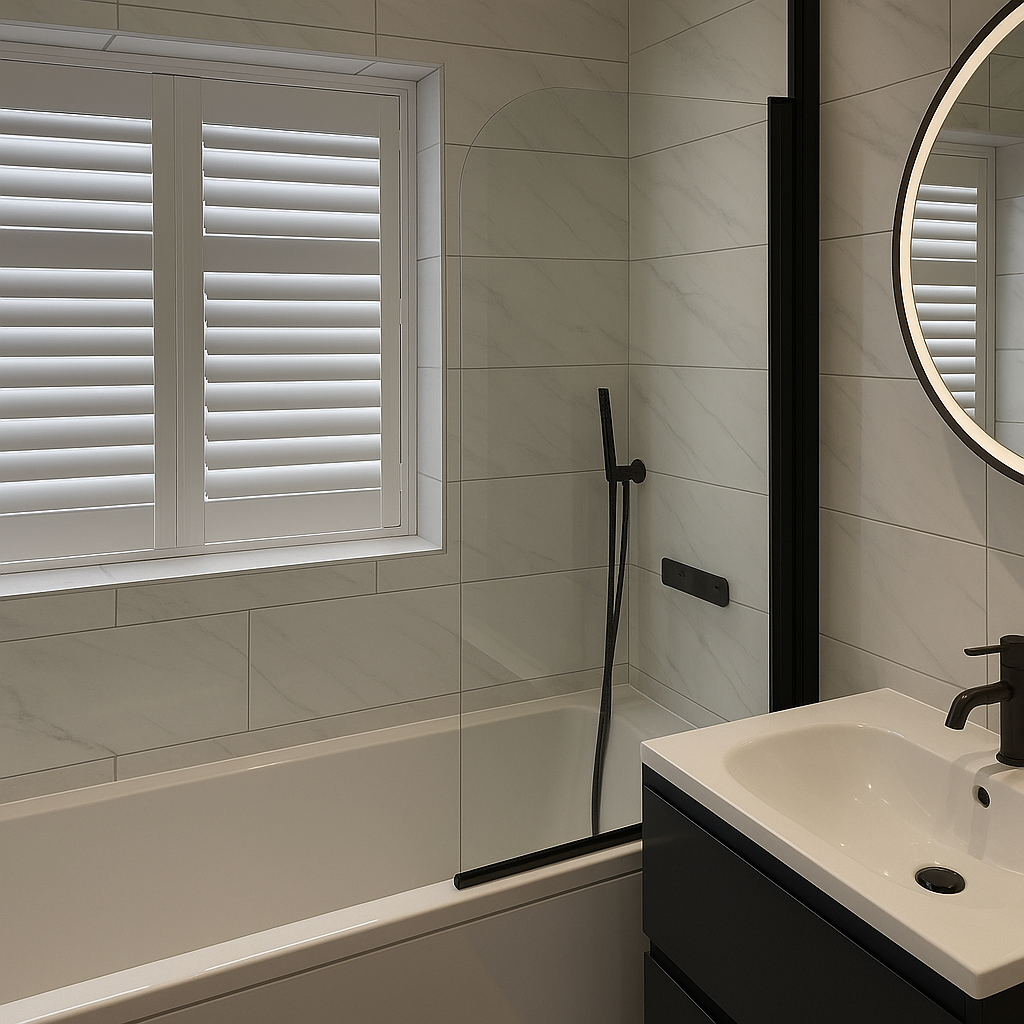
Waterproof Shutters
Suitable for bathrooms, wet rooms, and kitchens.
Resistant to moisture and humidity.
Maintain durability without compromising appearance.
Living rooms and bedrooms
Full-height or tier-on-tier shutters offer the best light control and privacy.
Ground-floor or street-facing rooms
Café-style shutters are ideal for maintaining privacy while allowing light from above.
Windows with arches or angles
Shaped shutters or specialist frames may be required.
Professional measurement is often recommended for these installations.
Finish and material selection
Many suppliers, including Shutters365, offer free samples of wood and MDF finishes.
Viewing samples helps confirm colour, texture, and overall quality before ordering.
Made-to-measure advantage
All DIY shutters are manufactured to exact window measurements.
Suppliers such as The Shutter Store UK highlight that DIY plantation shutters are designed to be simple to measure and fit, arriving ready for installation.
Related Read: Choosing No Drill Shutters Over Traditional Shutters
Before you start, gather the right tools. At minimum you’ll need a tape measure, a spirit level, and a pencil/notepad for recording measurements. A steel tape measure is recommended (often 5 m length) since fabric or nylon tapes can stretch and give errors. A stepladder or sturdy stool is handy for high windows. For fitting, have a drill and appropriate bits on hand, plus screws or wall plugs suited to your wall type. A hammer can help tap parts into place.
You may also want protective tape or cardboard (to protect surfaces) and possibly a block of wood or small wedges (shim) – which can be used to level the shutter frame if it doesn’t sit perfectly flush. If the supplier gives printed templates (some do), have masking tape and scissors ready to affix the paper templates.
Being organized at the start makes the rest go smoothly. Shutter suppliers like Shutters365 even provide template guides and reminder checklists – take advantage of these free resources. We also recommend double-checking your tools: missing bits (or no level) can easily frustrate an otherwise simple fit.
Accurate measurements are essential when ordering DIY shutters. Even small errors can result in shutters that do not fit correctly, so it is important to measure carefully and check all dimensions more than once. Wherever possible, ask someone to help hold the tape measure at the opposite end of the window to ensure accurate readings. All measurements should be taken in millimetres.
Before taking measurements, you must decide whether the shutters will be fitted inside the window recess or outside the recess on the wall or architrave. This decision directly affects how you measure.
To allow for uneven or out-of-square window frames, measurements must be taken at multiple points:
Using the smallest measurement ensures the shutter frame will fit even if the window opening is not perfectly square.
Always measure the full window recess, not just the visible glass area or the architrave. It is also important to note any obstructions such as window handles, locks, or catches. These should be clearly recorded or deducted from your measurements where necessary.
For example, if a window handle protrudes into the recess, you may need to measure from the edge of the handle rather than the back of the recess. Alternatively, an outside-mount installation may be more suitable to avoid interference altogether.
Some UK suppliers, including The Shutter Store UK, recommend checking whether the window is square by measuring diagonally from corner to corner. If the two diagonal measurements differ by more than approximately 10mm, the window is considered out of square. In such cases, minor adjustments may be required during installation, such as slightly trimming or planing the frame edge for a better fit.
Although many shutter suppliers will review your measurements before manufacturing, accuracy at the measuring stage remains the homeowner’s responsibility and should not be rushed.
Shutters365 provides detailed measuring guidance, including printable templates and step-by-step instructions, to help ensure correct measurements. If you are unsure, their tools and support resources can help you confirm your measurements before placing an order.
Once your measurements are confirmed, the next step is to configure your shutters using the supplier’s online design tool or order form. This is where you finalise how your shutters will look, function, and fit. Most UK DIY shutter suppliers guide you through this process step by step.
During configuration, you will typically make the following selections:
Choose between full-height, tier-on-tier, or café-style (half-height) shutters, depending on the level of privacy, light control, and appearance you want. Each style serves a different purpose and should align with how the room is used, as outlined in the earlier sections.
Common material options include MDF, hardwood (such as Paulownia wood), and PVC.
MDF is a cost-effective option with a smooth painted finish, suitable for most dry rooms.
Hardwood shutters offer a more natural appearance and greater durability but are typically priced higher.
PVC shutters are fully waterproof, making them the best choice for bathrooms, kitchens, and other high-moisture areas.
Each material has a distinct look, weight, and price point, so it is important to balance aesthetics with practicality.
You will also need to select the appropriate frame style, usually either an inset (inside) frame or an external frame such as an L-frame or Z-frame.
An inset frame fits neatly within the window recess for a flush appearance.
An external frame mounts onto the face of the architrave or wall and is often used where recess depth is limited or uneven.
The correct frame choice depends on your window construction. Most suppliers provide detailed guidance at this stage. For example, The Shutter Shop recommends understanding frame options before measuring to avoid installation issues later.
DIY shutters are supplied fully painted or stained, ready to install. Many suppliers, including Shutters365, offer free sample swatches or sample kits so you can check colour, finish, and texture against your existing décor. Ordering a physical sample shutter panel can be particularly helpful when making final decisions.
Optional extras may include divider rails, mid-rails, magnetic catches, leaf locks, or other hardware features. These additions can enhance usability, especially on larger or tier-on-tier shutters.
Before submitting your order, ensure all technical details are correct. This includes confirming:
The position of window handles and any obstructions
Whether the window requires standard British fixings or additional packing
The correct inside-mount or outside-mount selection
Any special notes for unusual window shapes or bay windows
While most standard windows are suitable for DIY shutters, more complex installations (such as large bays or shaped windows) may require a professional survey. In these cases, many suppliers offer an optional survey service for added reassurance.
DIY shutters are not supplied as raw materials or flat-pack components. Instead, they arrive factory-made to your exact measurements. The term “DIY” refers to measuring and fitting, not manufacturing the shutters yourself. As one supplier notes, true self-built shutters would require specialist machinery and tools.
A typical order includes:
A precision-built shutter frame, clearly marked for top, bottom, left, and right
Pre-made shutter panels designed to fit perfectly within the frame
A complete hardware pack, including hinge pins, screws, and fittings
For example, The Shutter Store UK explains that their shutters arrive with hinges already attached to both the frame and panels, using a simple drop-pin hinge system. Installation involves lifting each panel into place and inserting the hinge pin to secure it. All joints are pre-mitred and pre-drilled, and no cutting is required on site.
In practical terms, the only drilling required is to fix the frame to the wall or recess. Everything else is designed to slot together cleanly and accurately. This factory-finished approach is what makes modern DIY shutters genuinely straightforward to install and ensures a professional end result.
When your shutters arrive, they are usually delivered in clearly labelled boxes, often marked by room or window. This helps ensure each shutter is installed in the correct location. Before starting, check that all components and fixings are present, then follow the steps below.
Begin by carefully unpacking the long box containing the shutter frame components. Each section will be marked to indicate its position (top, bottom, left, and right). Match these markings and join the corners using the supplied corner connectors, often referred to as bowtie fittings.
Assemble the frame face-down on a soft, flat surface such as the cardboard packaging to avoid scratching the finish. Once assembled, lift the frame into position:
Use a spirit level to ensure the frame is perfectly plumb and square. A useful approach is to insert one screw at the top of each side first. This lightly holds the frame in place while you check alignment.
If the frame is not sitting level, insert a small shim, wedge, or piece of card underneath until it is correctly aligned. A wedge under the sill or a discreet piece of masking tape can be effective and easily concealed later. The Shutters365 fitting guide specifically recommends levelling and wedging the frame as required to achieve a precise fit before final fixing.
Once the frame is level and square, fully secure it using the screws provided, fixing through the corner and side holes as instructed. If fitting into brick or blockwork, ensure appropriate wall plugs are used for a secure installation.
With the frame securely fixed, you can now install the shutter panels. Each panel is usually numbered to indicate the correct order.
Remove the long hinge pins from the hardware pack. Lift the first panel into position, aligning the hinge knuckles on the panel with the hinge plates on the frame. Once aligned, drop the hinge pin through the knuckles to secure the panel.
Repeat this process for each panel, usually working from left to right. If a panel feels tight or slightly misaligned, minor adjustments can be made by loosening the middle screw on the hinge bracket and sliding it slightly up or down before retightening. This adjustment allows the panels to align evenly within the frame.
After fitting, ensure each panel opens and closes smoothly without rubbing against the frame.
Once all panels are in place, check that the stiles (the vertical edges of the panels) are evenly spaced and parallel. Insert the small locking screw into the round hole of each hinge to secure the hinge permanently.
Tighten all frame screws now that alignment has been confirmed. Fit any cap strips or wooden covers provided to conceal hinge screws and frame fixings for a neat, finished appearance.
If your shutter kit includes magnetic catches or leaf locks, engage and adjust these as required. For a more refined finish, some installers recommend applying a thin bead of clear silicone or paintable caulk around the outside edges of the frame where it meets the wall or recess. This helps conceal minor gaps and improves the overall appearance.
Finally, remove any wedges or temporary shims used during alignment.
If a shutter frame does not fit perfectly into the recess, this is often due to the wall or window opening being slightly out of square rather than an issue with the shutter itself. In such cases, a small amount of planing or scribing along the frame edge may be required to achieve a precise fit. This is common in many UK homes, particularly older or site-built properties.
If larger gaps remain, these can usually be filled neatly using paintable caulk or trim. It is also important to leave the small access holes on the sides of the panels uncovered, as these allow for future adjustment of the louvre tension screws if the slats loosen over time.
By following these steps, your DIY shutters should be securely installed and properly aligned. The panels should open and close smoothly, delivering a clean, professional finish. Many UK DIY shutter installers confirm that installation is straightforward when supported by clear instructions.
If you encounter any difficulties, most suppliers, including Shutters365, provide email or telephone support to assist you during the fitting process.
DIY shutters are low-maintenance. Simply dust or wipe them with a soft damp cloth occasionally. Avoid abrasive cleaners or soaking wooden shutters; a drop of mild detergent in water is enough if they get greasy (e.g. kitchen shutters). Periodically check that all screws remain tight and hinges are secure – especially in high-traffic areas. If a panel feels loose, tighten the small hinge screws.
For natural wood shutters, you could occasionally apply a suitable wood conditioner or polish to keep the finish looking fresh (though many UK shutters come pre-finished so this isn’t usually needed). Since most DIY shutters are made from moisture-resistant materials (like painted wood or waterproof PVC), they hold up well in bathrooms or conservatories. If humidity is a concern, ensure your chosen material is rated for damp use.
DIY window shutters are a smart UK home upgrade. By measuring carefully, ordering the right style and using basic tools (tape measure, drill, level, etc.), you can fit premium shutters yourself. The result is high-end plantation shutters – or café/tier shutters – that look professionally installed. And because companies like Shutters365 double-check your order and provide support, the process is reliable for most homeowners. Follow this guide (and their PDF instructions) to confidently transform your windows with beautiful DIY shutters.
Checkout safely with Stripe — encrypted, secure, and trusted worldwide. Pay with Visa, MasterCard, Amex, or PayPal.
info@shutters365.co.uk
Unit 82a
James Carter Road,
Bury St. Edmunds,
IP28 7DE
Our registered office is listed above. Please note this is not a showroom or returns address.
© Shutters365 Ltd ®.(Registered in England and Wales Co. No.16654353).